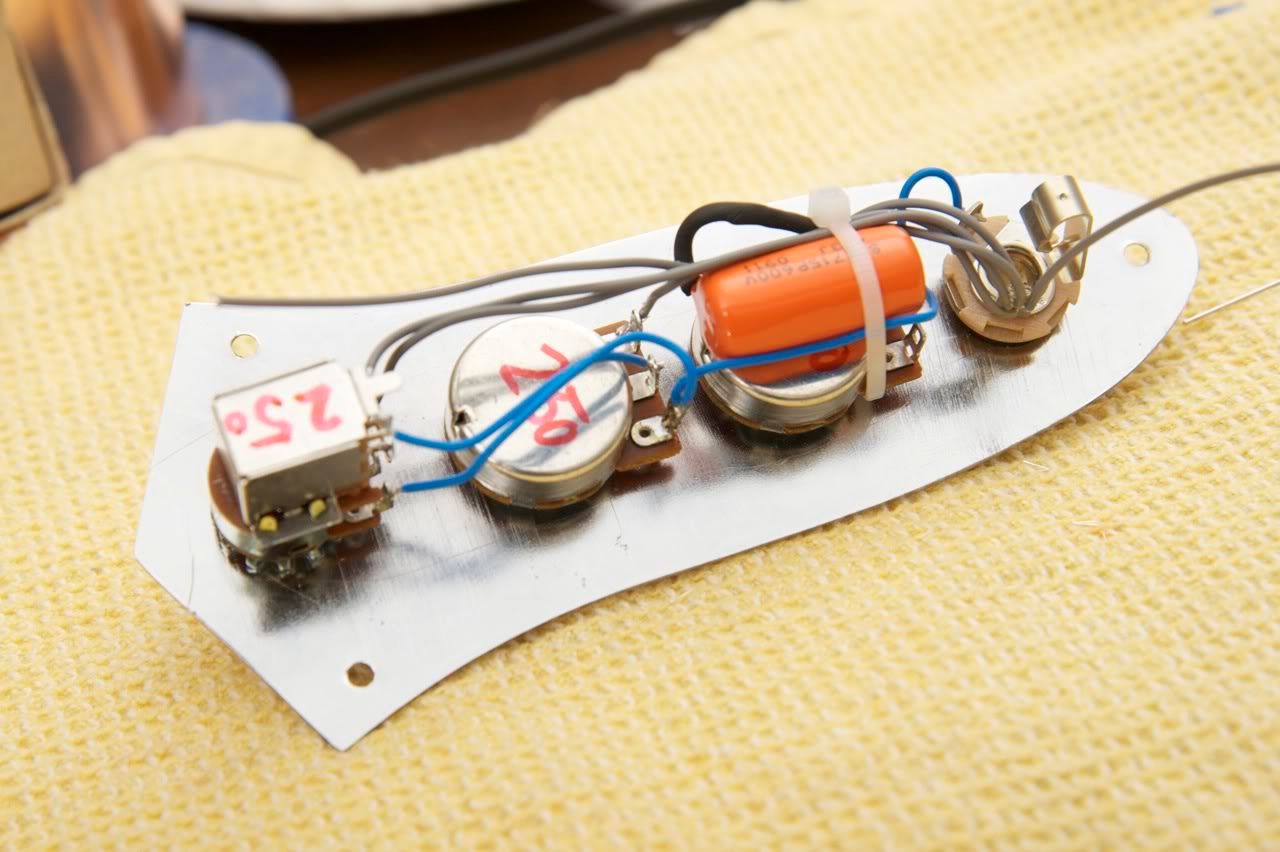
I wired up electronics for #3. I'm starting to figure out how to do these a little better and wire a lot of it outside of the bass and batch cut a bunch of the wires. The thought had crossed my mind that others could potentially be interested in buying a complete harness, so I'm just practicing. I'm using different colors just for the heck of different colors and because I'm taking pictures.

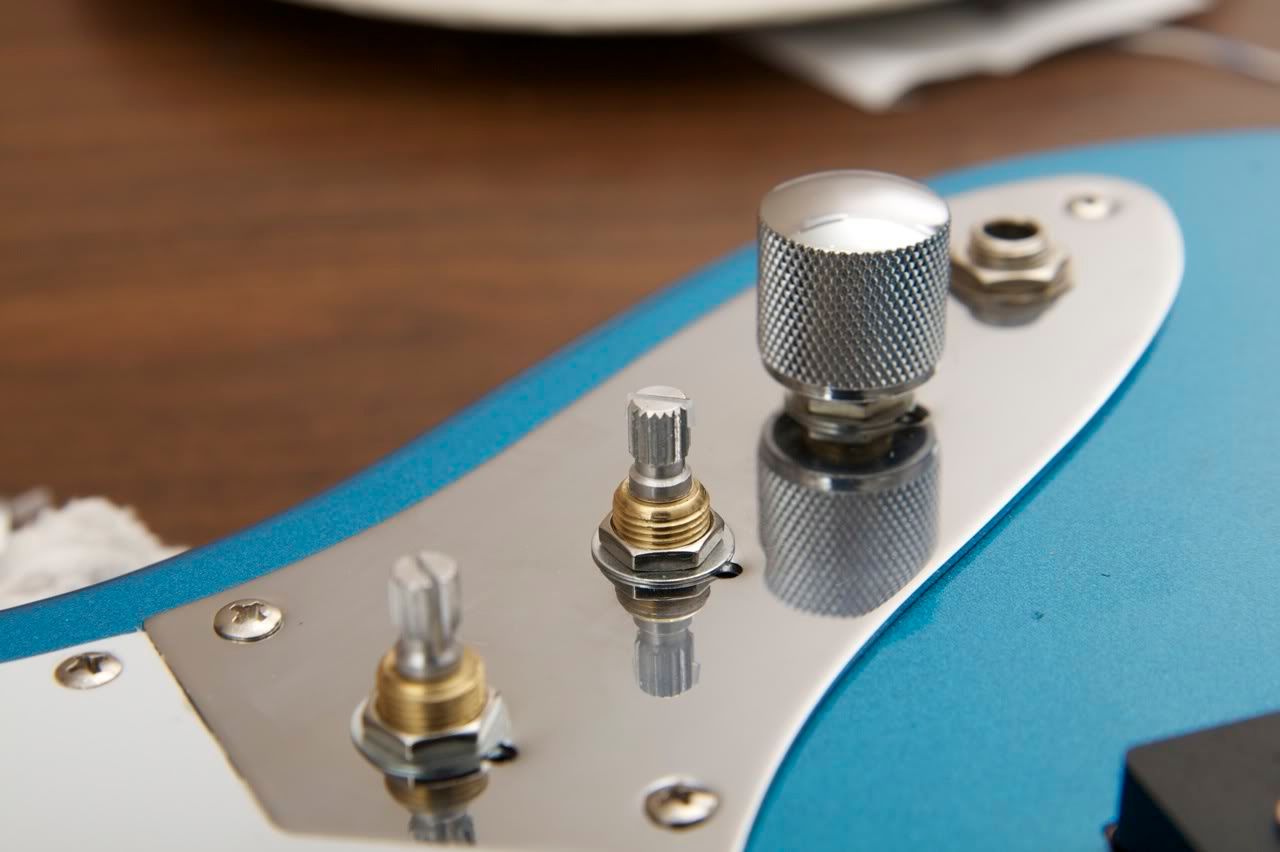
The Bourns guitar pots have the right knurling to fit the stock SX knobs, but they are just a hair loose. To remedy that, I put a little slice of a zip tie in the slot sticking out just a little on each side so the plastic zip tie wedges a bit into the knob's knurling to give a good friction fit, but still remain removable and serviceable.
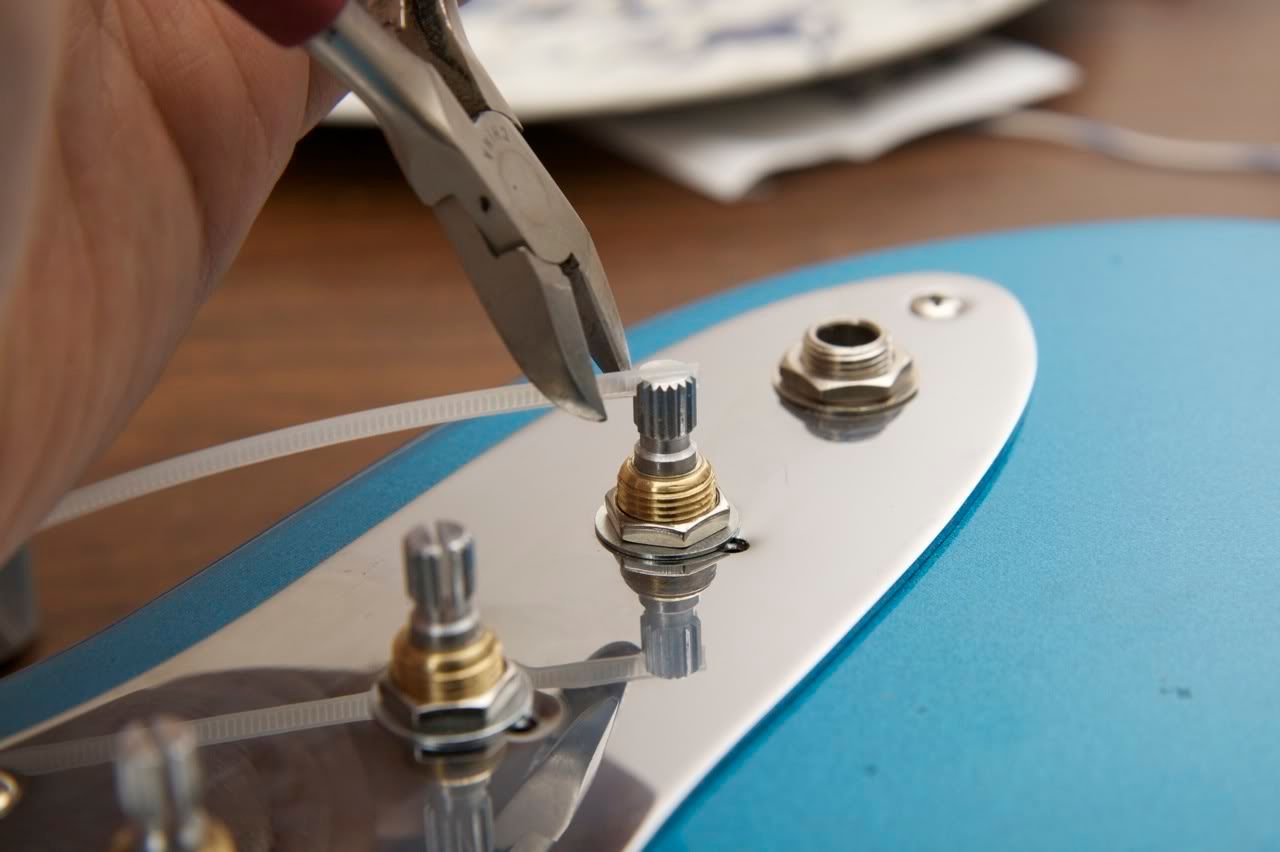
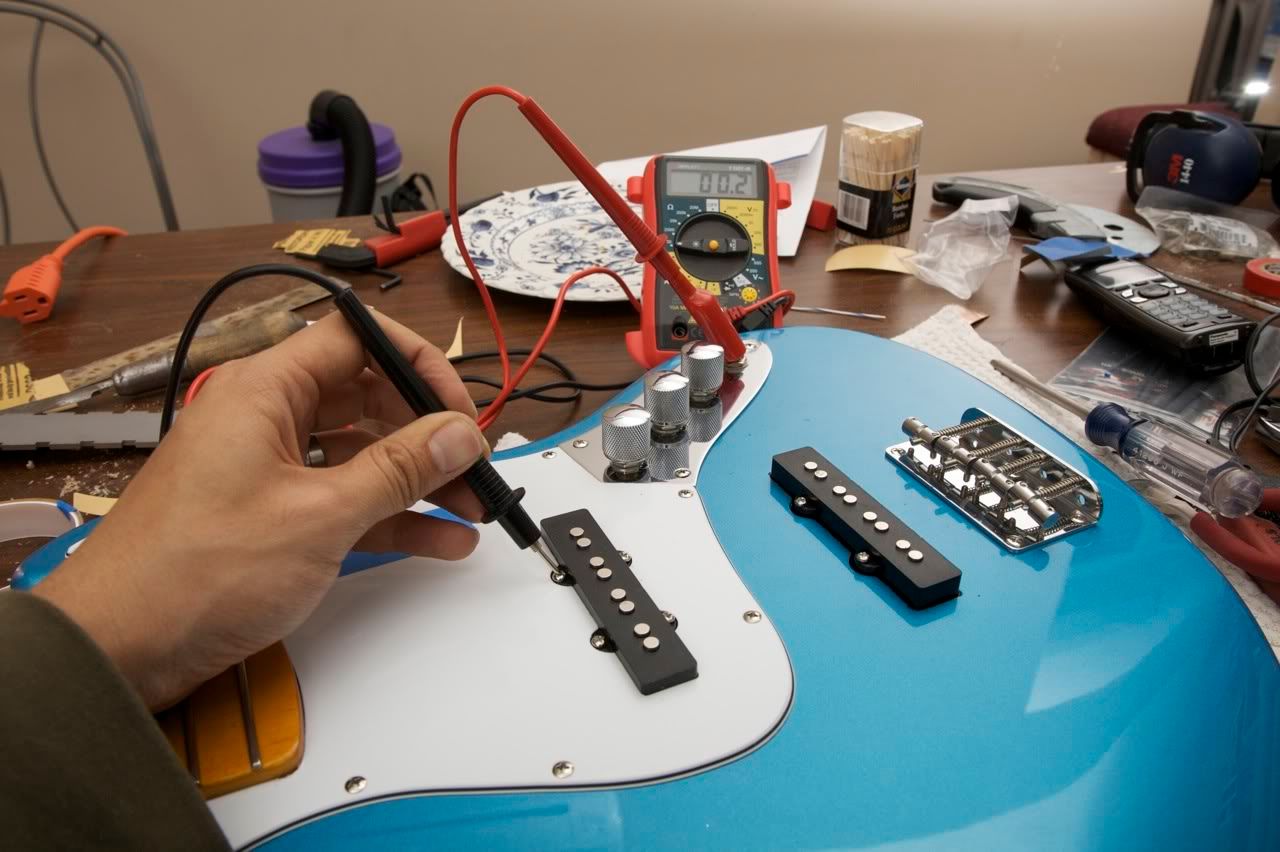
In this picture you can see one knob on and the little plastic strip placed in the 2nd pot's slot.
One last continuity check on my shielding and grounding and we're home free on #3 . . . so I thought
I was unable to get the action down as low as I would like. I poked, prodded, and measured with straight edge and fret rocker. I adjusted the full range of what I feel is appropriate relief (.3-1 mm), and I was still not able to sort it out. I was getting buzz all across the board, so I knew the problem wasn't isolated to one fret. The only difference I could think of between this and the other basses I've done is that I did not cut the falloff back as far because there were no problem low frets up high as usual (around 14-16). So, I got busy cutting a bit more fall-off.
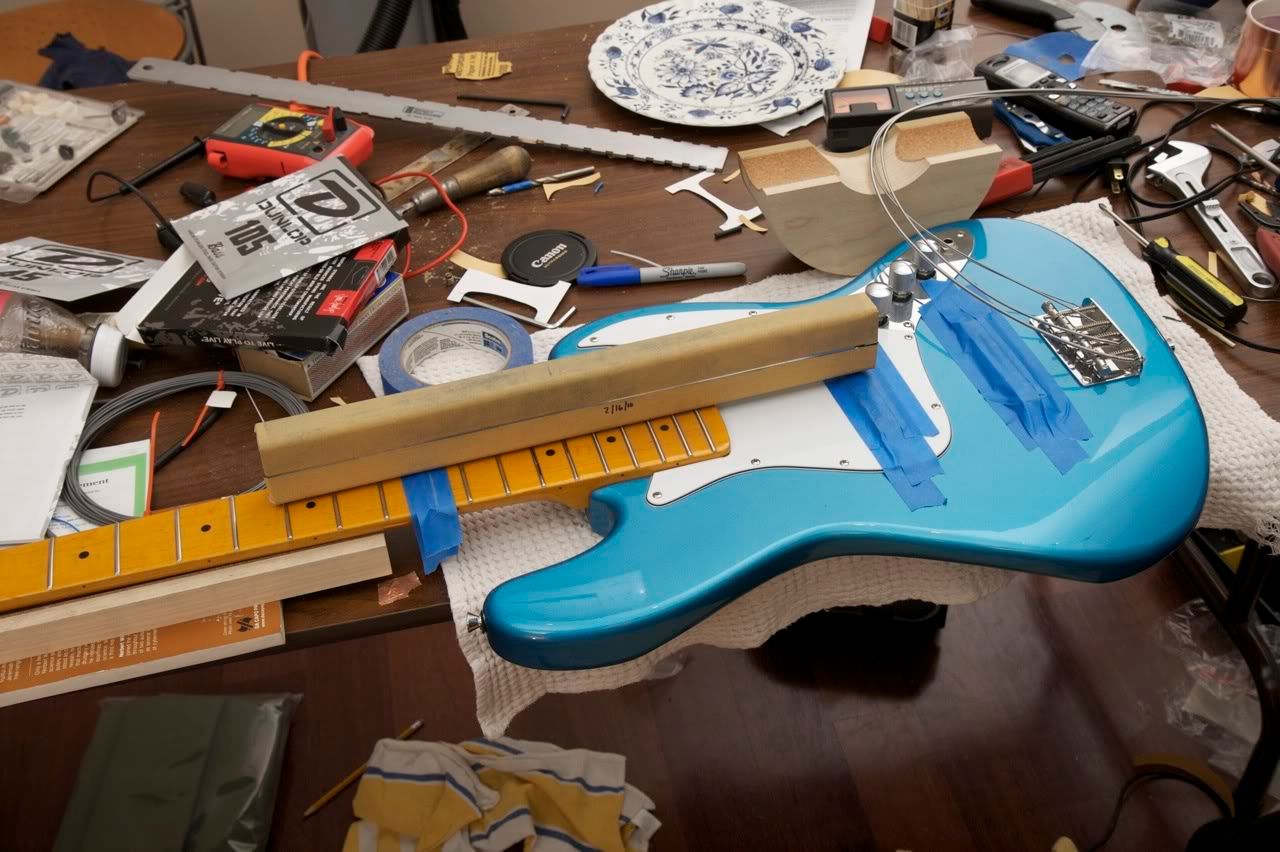
I steepened the angle by using 3 pieces of tape instead of 2 at the 11th fret replacing or scooting the tape every few strokes as the sandpaper cuts through the blue painter's tape pretty fast. Here's the final fall-off that I cut. You can see that the angle solidly hits the 15th fret and just slightly kisses the 14th fret.

After this, the bass started behaving a lot better. I continued to wrestle with these strings as they seem to be a bit "softer" or more supple than other hex core strings I've used. They seem to set up a bit more like round wounds perhaps a bit lower tension definitely than the DR low riders. After more fiddling than normal, I was finally able to dial in a setting at just around 1.75mm action measured at the 12th fret on #3.
I set up #2 with new strings as well just to try and figure out if I have some sort of fret or adjustment problem, but I hit the same hurdles on #2, so I'm fairly convinced that I just need to learn to make these strings run. The neck on #3 is straighter than #2 as I suspected and under string tension, there's the slightest twist on #2's neck so there is a bit more relief on the E side of the board than the G side.
So, I got both basses on the amp and it was interesting hearing the differences between the 2 basses. #3 is smooth and ballsey with a more transparent top end, #2 sounds a bit more direct and growly to me. I actually thought there was something wrong with the neck pickup sound on #2, so I went back in to check my solder on the pot. After I re-soldered it, it behaved more like a switch. . . on --> crackle --> off. . . oops. I think I overheaded and buggered it. Less heat = win. Luckily I had ordered a spare. I also noticed a crackle in the tone pot so I swapped that out too. Like before, I think I put too much heat into it fearing cold joints, but now I'm laying down less solder and less heat. I was bummed about the push/pull pot because it was expensive-ish and there are a lot of tiny connections to do. I do think that there was a problem with my original connection on the neck pickup of #2. I had not stripped the wire back when I unsoldered it from the factory harness, and the wire was hanging on by 2 strands. I cut it back and put it in proper on the new pot.
#3 weighs 9.050 lbs.
#2 weighs 9.210 lbs.
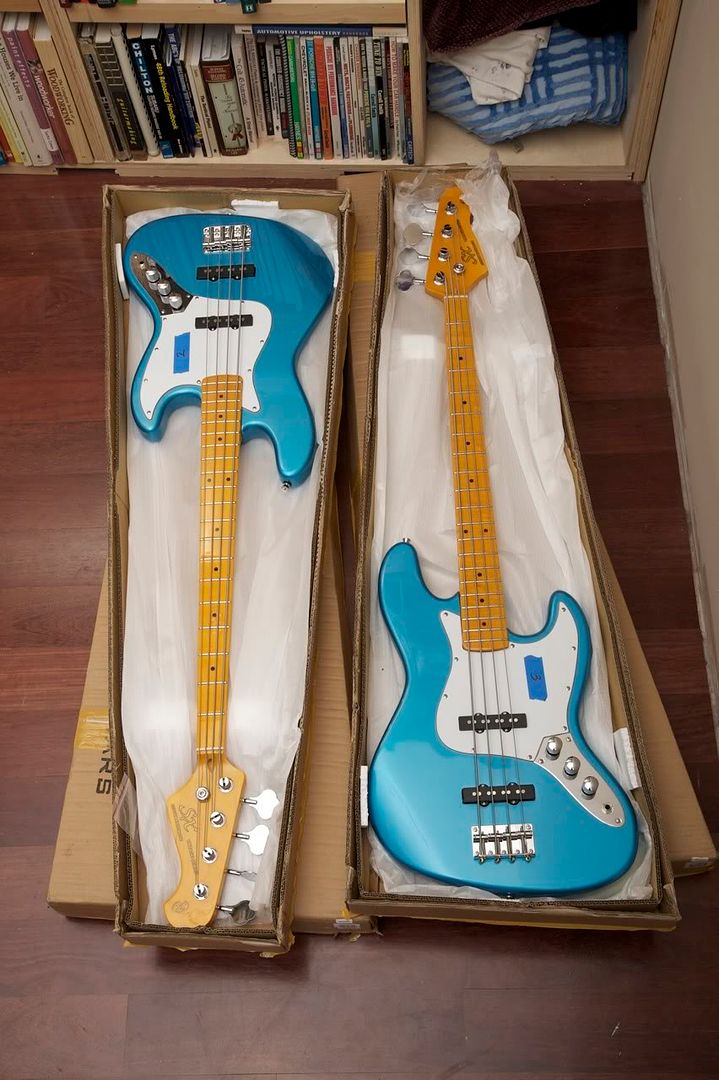
Well, 2 are done and ready to ship. I'm happy with the way these turned out. I'm looking forward to getting some sound clips and feedback on them. For now:
No comments:
Post a Comment