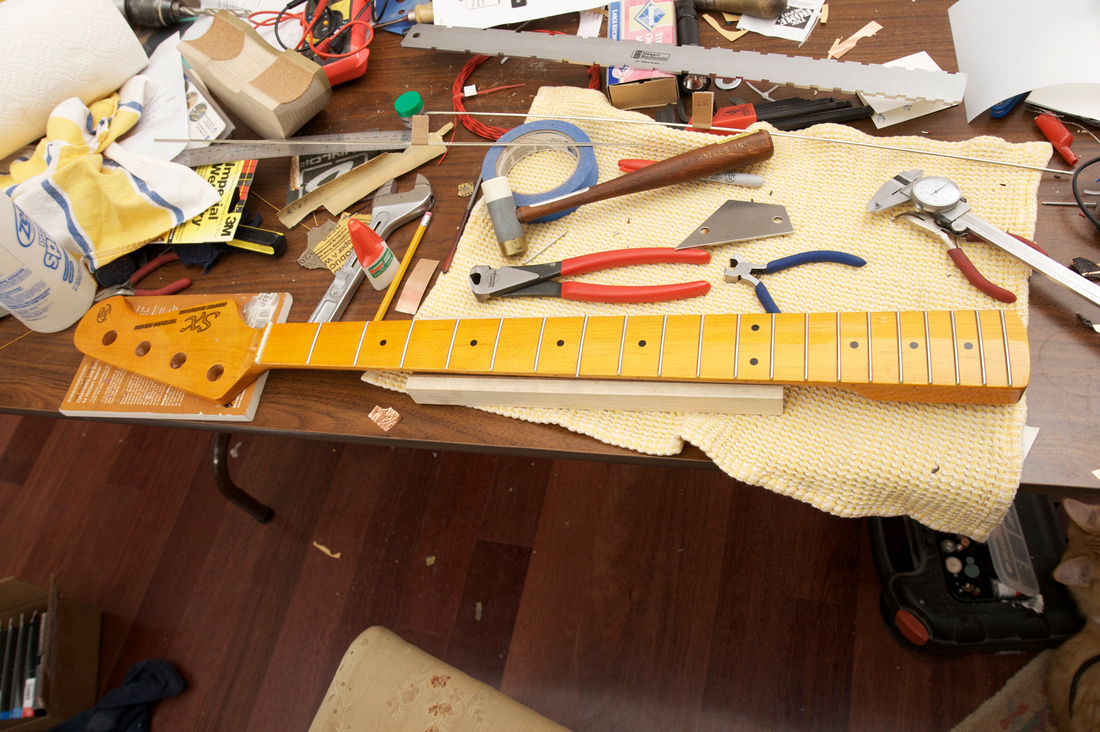
Upon close inspection of the neck, I found that one of the frets had been hammered in WAY too hard and had actually indented the wood and cracked the finish. As a result, the fret sits very low in relation to the other ones, and there was no good way to level that much material off of the entire fretboard.


I PM'd the seller about the problem and he very kindly gave me a full and complete refund of the purchase price which was a very generous resolution. With the money from the refund, I purchased a few tools. . . a fret cutter (StewMac) and a fret puller (ebay). . .and I also purchased 2ft. of the biggest fret wire they had. The hope was if I replaced the low fret with a super jumbo one. . .even with the indentation on the fretboard, the fret might be level with the surrounding ones.
Having ordered tools, I ordered one of the black SX fretless p-basses for $109.99 + $21.50 shipping and #4 is officially on!

The fret puller worked awesome and made short work of pulling the fret. I was afraid with the cracking on the finish that it would chip out and cause me grief.

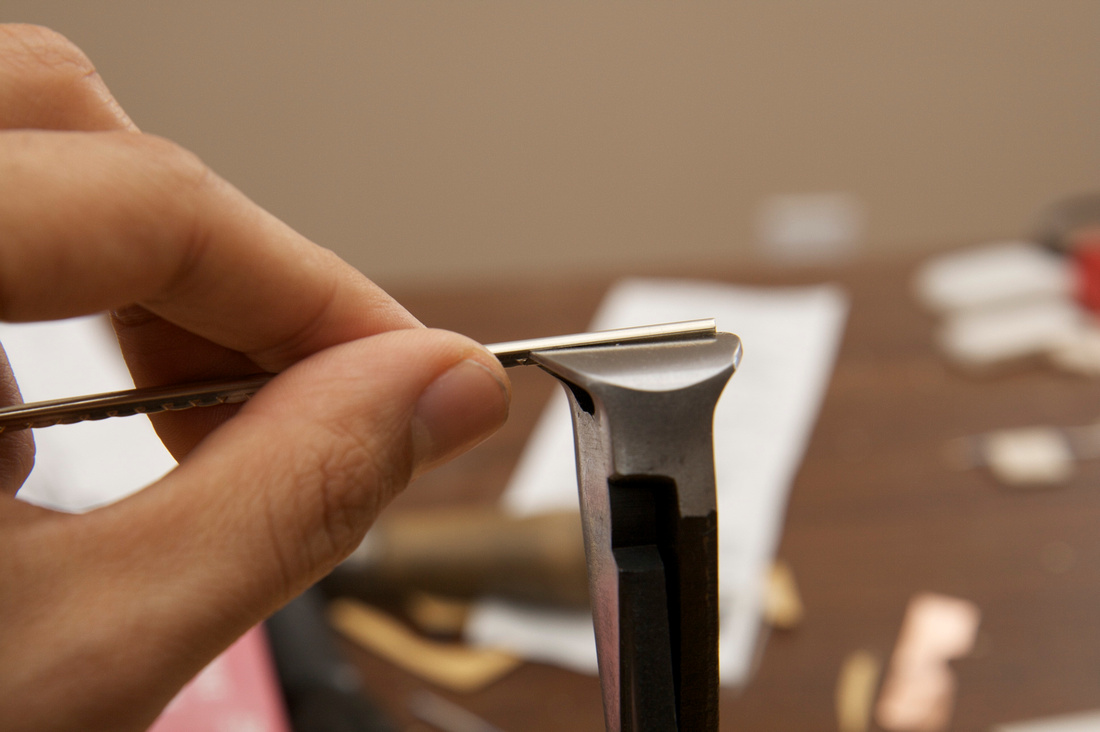
I then used the stewmac fret cutter tool to bend my fret. I was REALLY hoping I would not need a fret bender for one fret, and I think I was able to do a passable job of bending. . . a bit wavy gravy, but functional. If I was doing a whole bass or 2 a fret bender would be appropriate I think.


I used the fret cutters to undercut the tang because this bass has filler on the edges. I guess it's just the way SX rolls. I then filed the remaining tang off.

Then, it was hammer time

After the fret went in, I was disappointed to find out that it was not tall enough to level out with the other frets. . . but certainly it was better. . . close even. So, I pulled the fret out again, put crazy glue in the seam, put the fret back in, and then squirted some crazy glue under the fret. I then tried as best I could to set the fret in a hair higher than the surrounding frets. (NOTE: someone on forum suggested squirting super glue under the fret. . . I may be entirely butchering this technique by gluing directly into the channel and then around the gap area, and it could very well destroy the neck or cause serious problems upon a refret attempt, since the fret slots on this bass were filled with putty and then finished on the edges, I didn't have direct access under the fret for applying glue.)

Sorry. I didn't get any pictures of the process because it involved glue gunk all over my hands and a certain amount of stress. The fret sits a little gapped off the fretboard, but not terrible I think. I'm hoping the glue holds and I'll be able to dress and level it out ok.
So, for now. . .

After the glue dries, I file the excess off of the replaced fret.

switching over to a finer fret file as I get closer to the edge

And this is the ugly side of the repair. There's a small gap under the fret (as expected to get the fret to the proper height) so I squirted some more crazy glue under it and rounded the edges a bit more than normal so that it wouldn't be "grabby".

No comments:
Post a Comment