#5. . . something's a little different about this guy. I ended up picking up 2 "Mexican Standard" jazz basses this weekend locally. I backed out of the deal I previously almost got into from the classifieds here on TB. At any rate, #5 is a 9.56 lb. dark burgundy metallic copy and set me back $235.00 . . . the other one (black) set me back $300. Both is great condition.
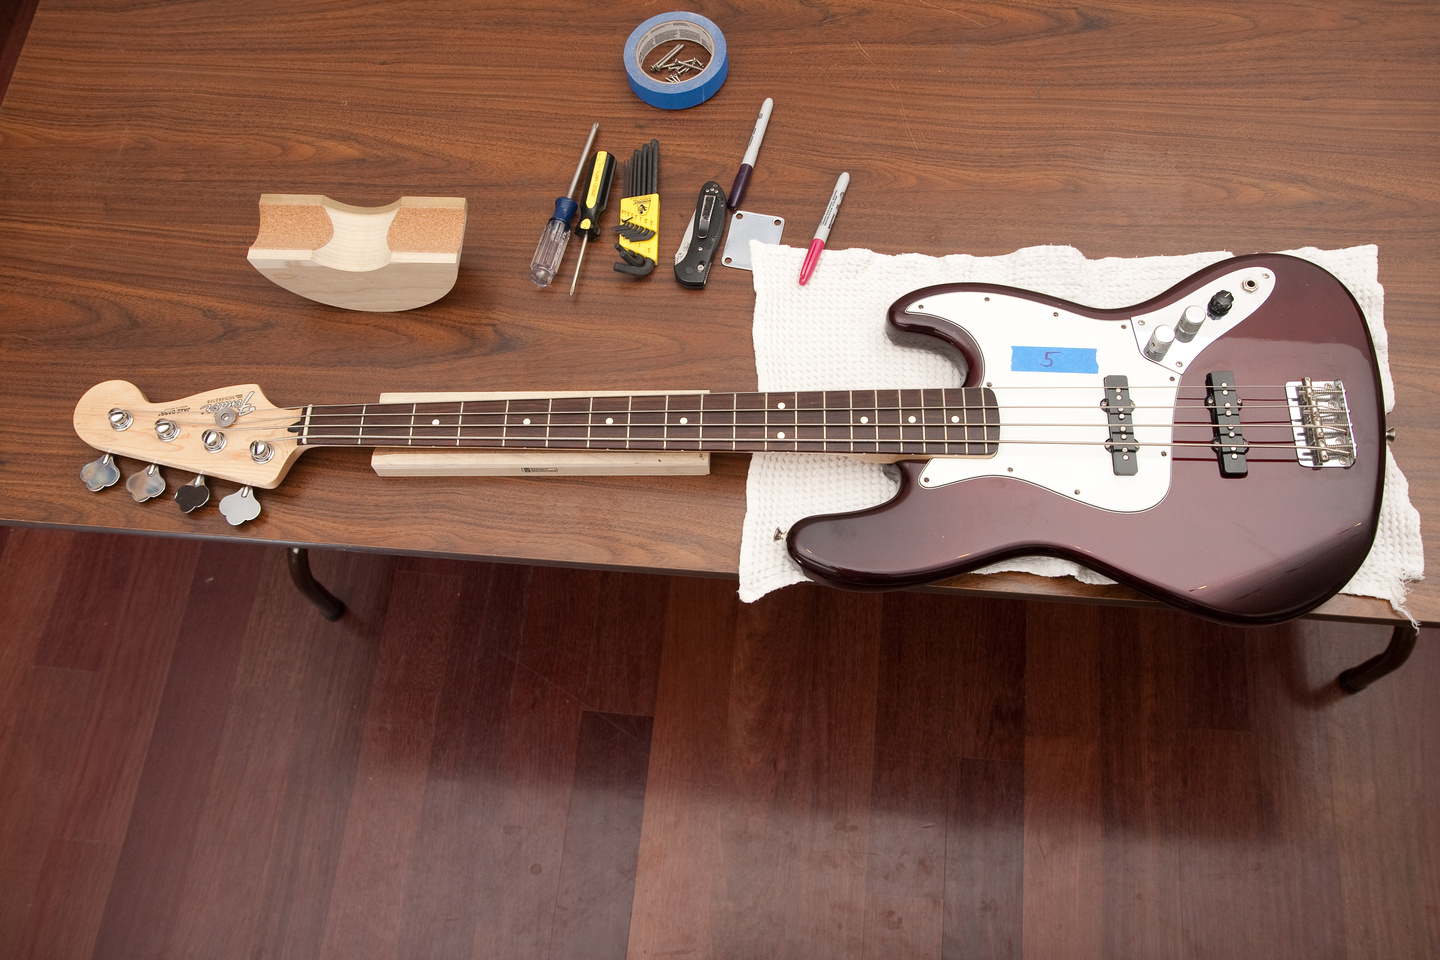
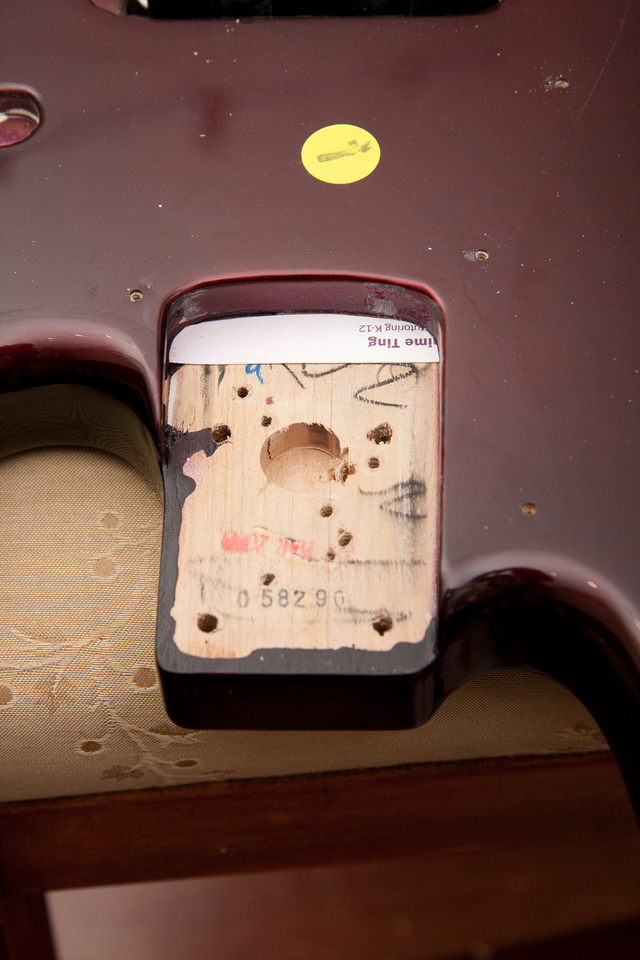
One of the reasons I decided to pick up 2 Mexican specials was to see what the Fender thing was all about, plus, I figured if any wealthier type students really want the Fender name on the headstock, they can have it. One thing that became clear immediately was the neck pocket on the MIM is much better than any SX I've seen so far. Quite simply, it's not been messed with. Well, there's a whole bunch of weird, extra screw holes for god knows what, but it's cleanly cut without hand chisel gouges everywhere. Amazing what a little masking tape can do for you on the neck pocket before you spray it.
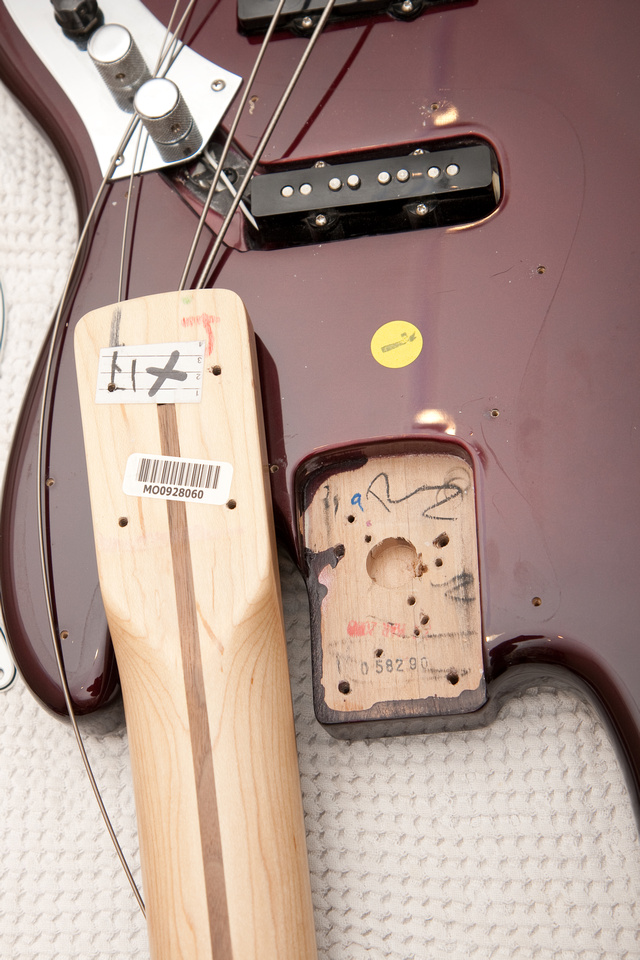
Neck and pickup alignment were off on this bass, so I had to crank the neck over towards the E string side. I couldn't get the neck to move enough by simply loosening the neck plate, so I enlarged the holes in the body a bit to give me some wiggle room.
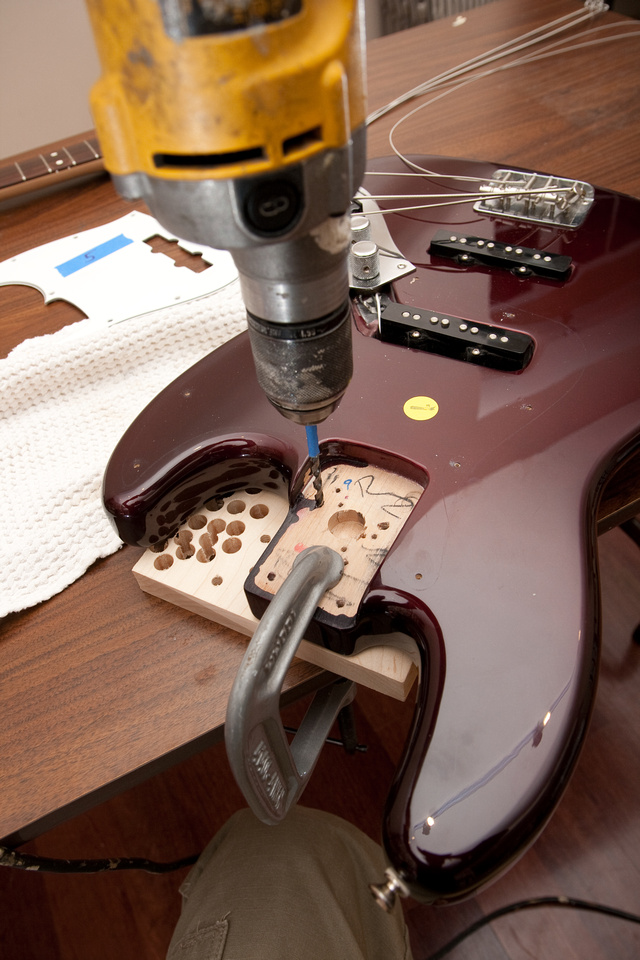
And then. . . it was time for some inserts.
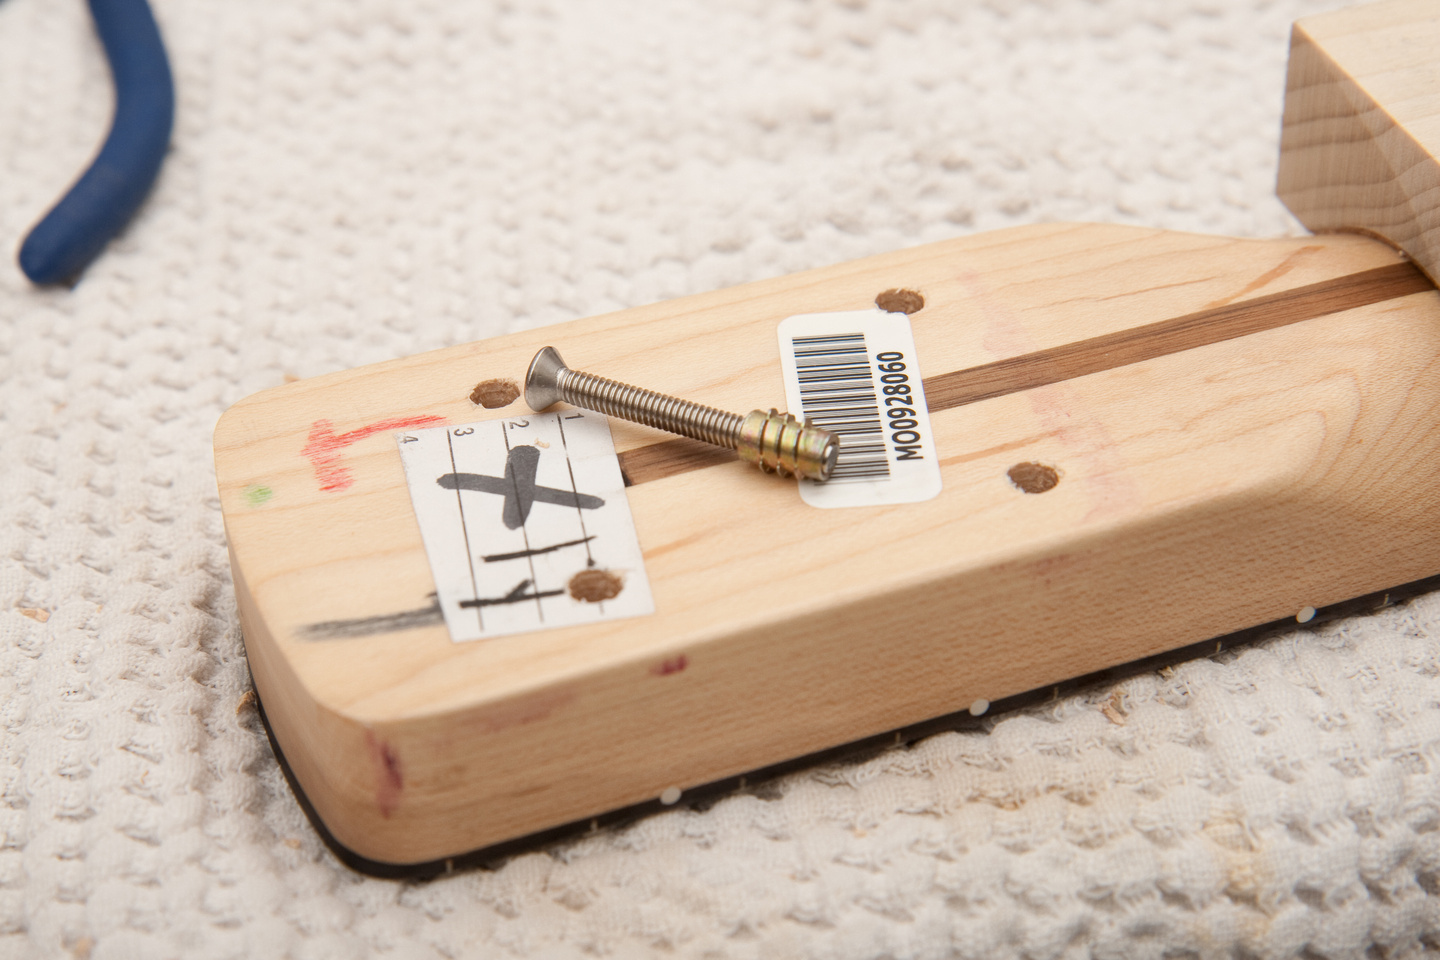
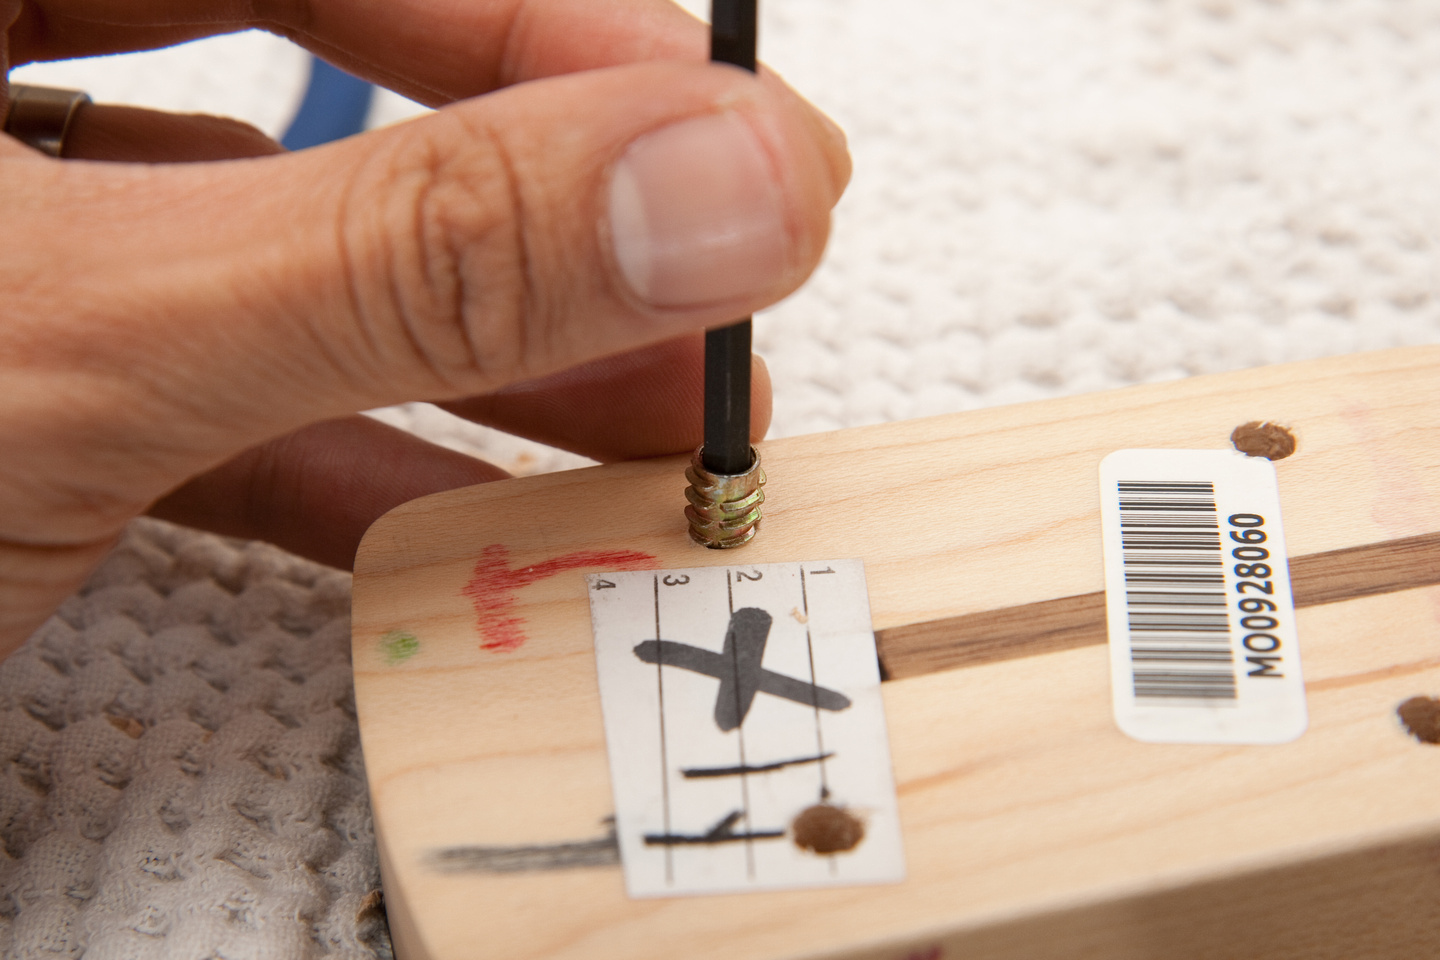
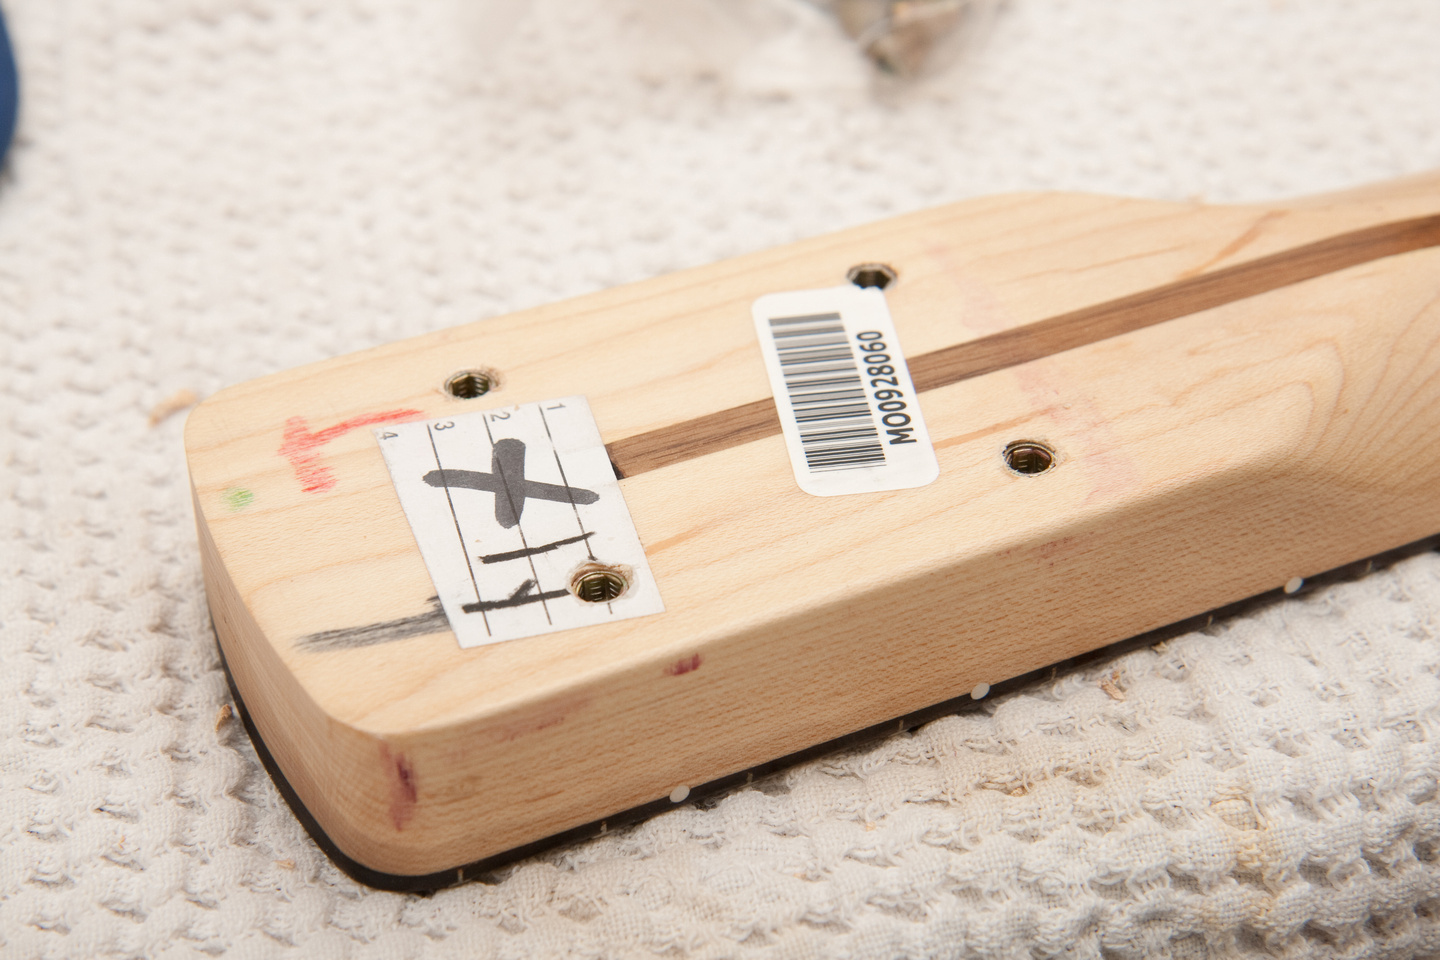
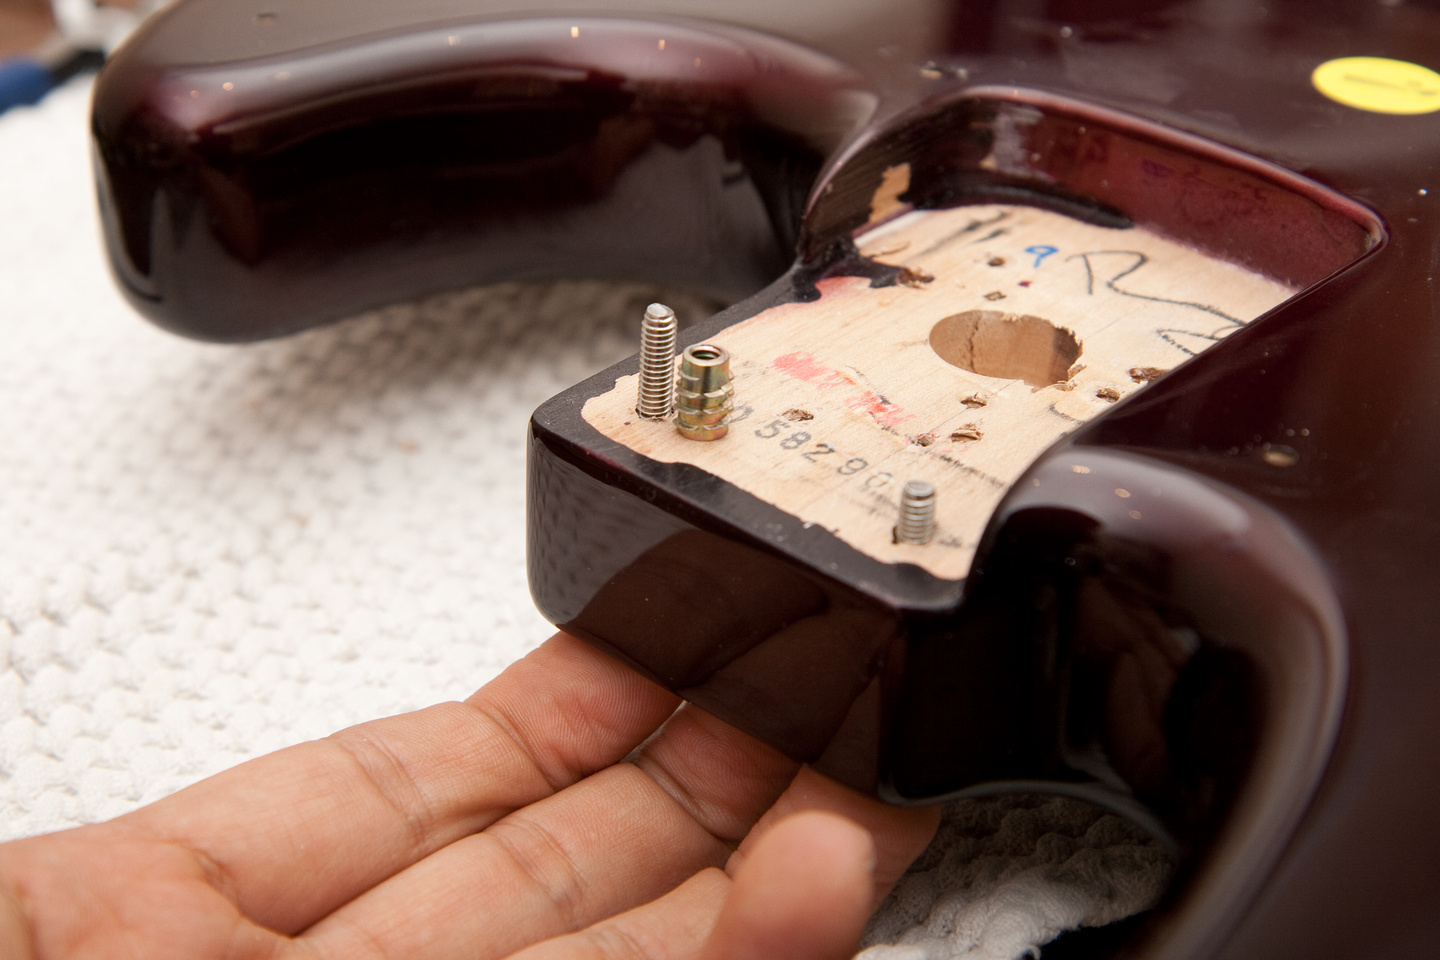
I think the Fender bodies are a bit thicker than the SX bodies. The 1 1/2" machine screws were too short and the 1 3/4" screws were slightly too long.
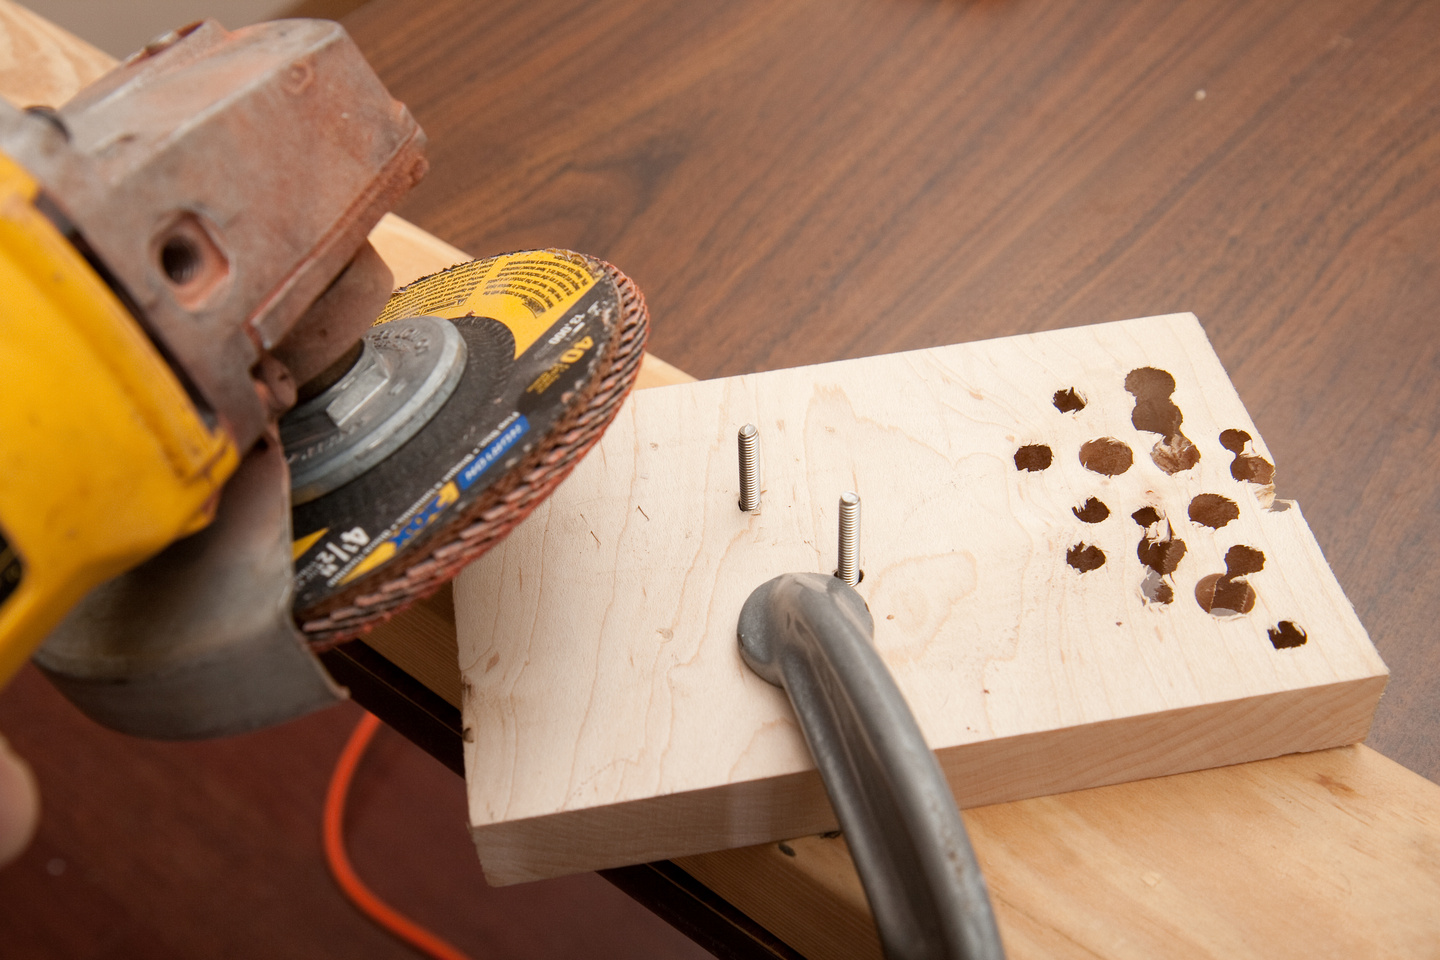
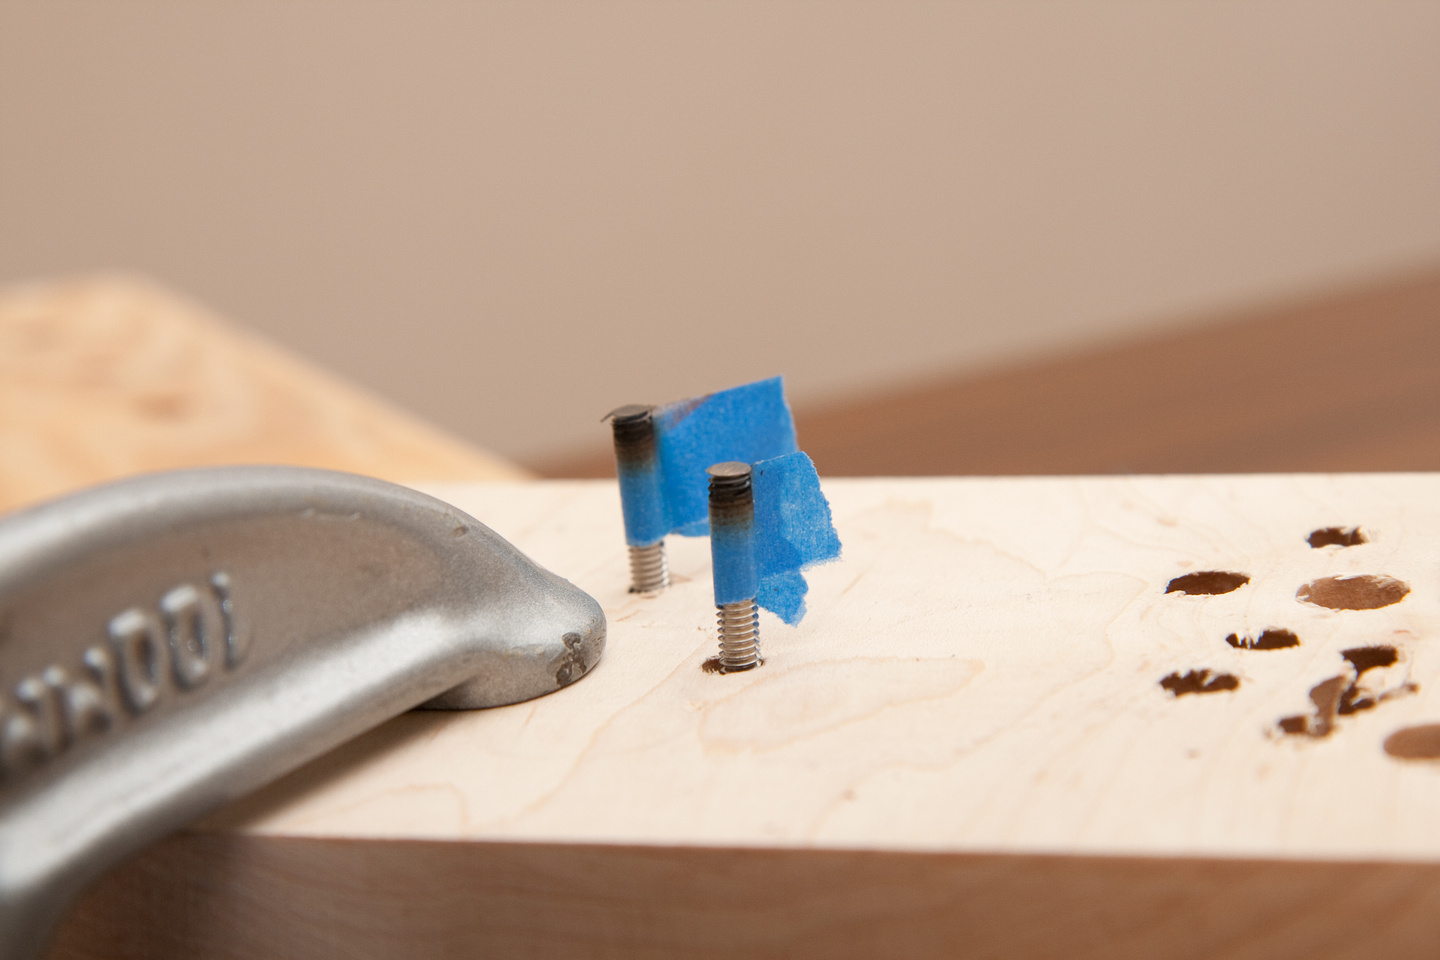
I was sick of using the dremel to cut the screws down, so out came the grinder. . . I appear to have lost the nut to hold the grinding wheels on, so the 40 grit sanding wheel that was on there was what I had to work with. . . and it made short work of the screws. Much easier than the dremel . . . and with fire!
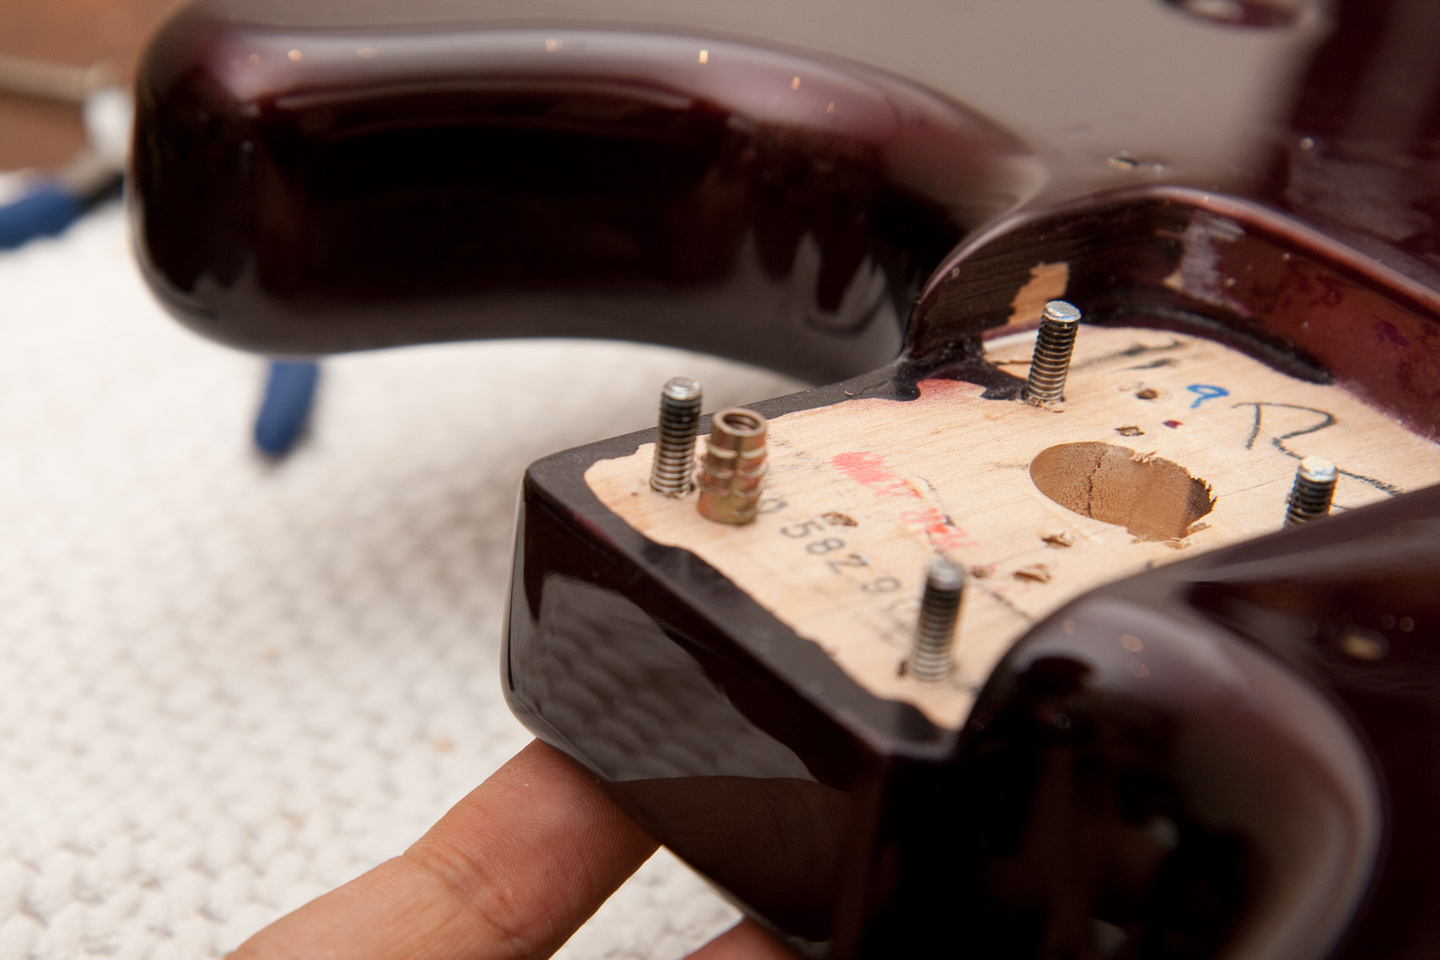
The neck pocket needed to be shimmed to get the action as low as I like to go.
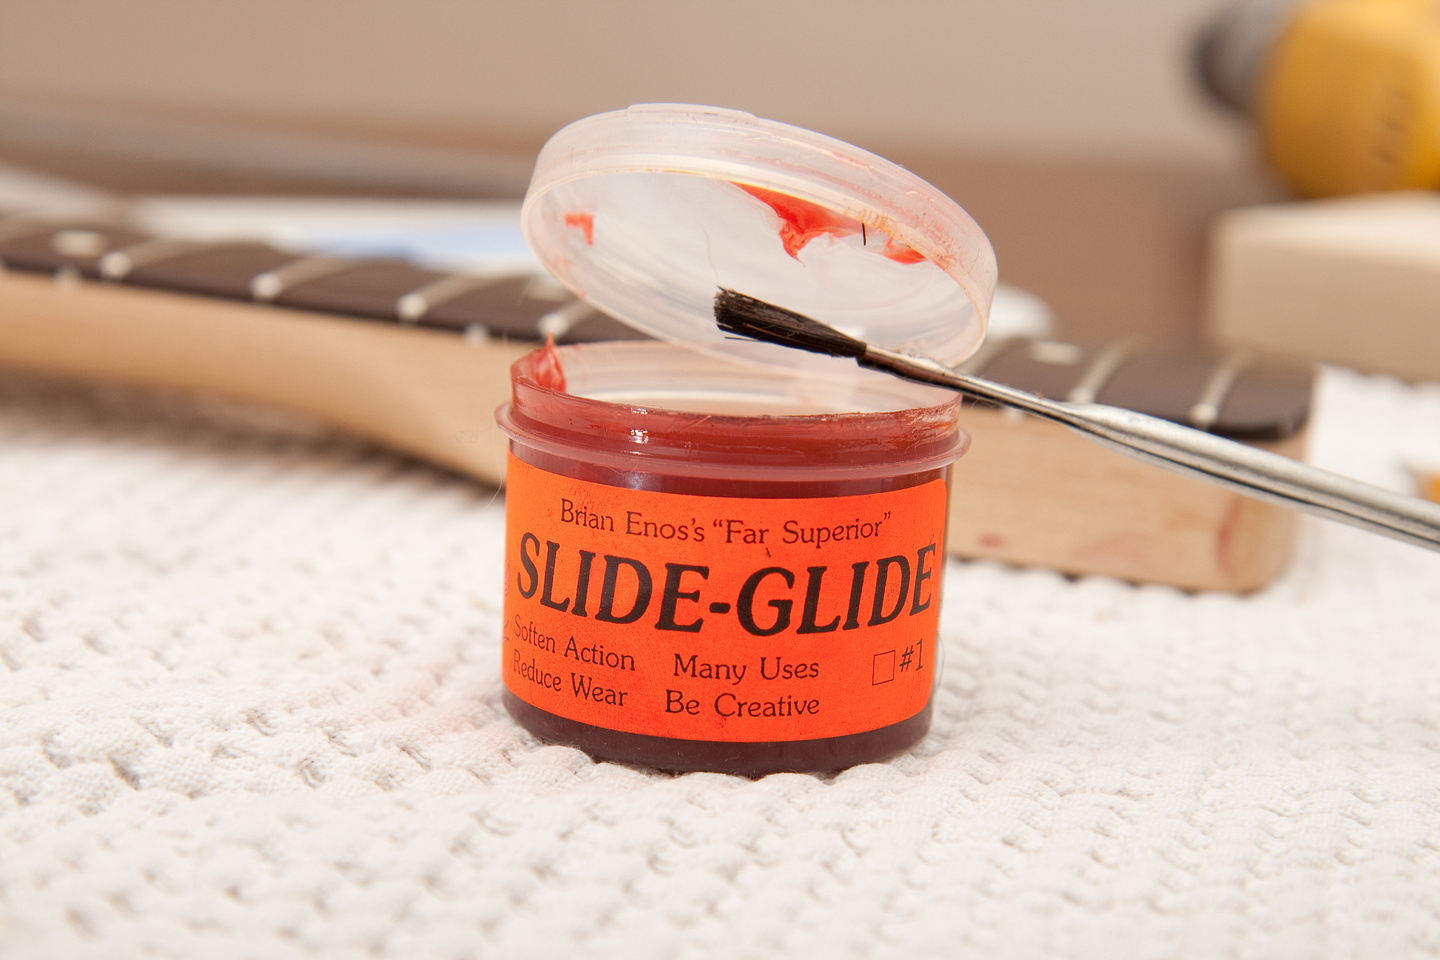
And this time, I put some grease on the ends of the screws to let them torque down a bit easier. I thought this would help the longevity of the neck joint as removal/installation will be easier on the insert. I had some great stuff I use on my wife and my 1911's, so I figured it'd work great for this application as well. After all, it does say "many uses - be creative" on the package. . . so I am.
And, neck is cranked over as far as it will go and set with the machine screws and inserts, the neck pickup is still mis-aligned. . . C'mon people!!! Is it too much to ask to line up the neck/pickups/bridge at the factory. I guess it doesn't matter if the monkey with the hand drill is in China, Mexico, or in my living room in California. Luckily, there's enough slop in the pickguard route to let me scoot the pickup over a bit more.
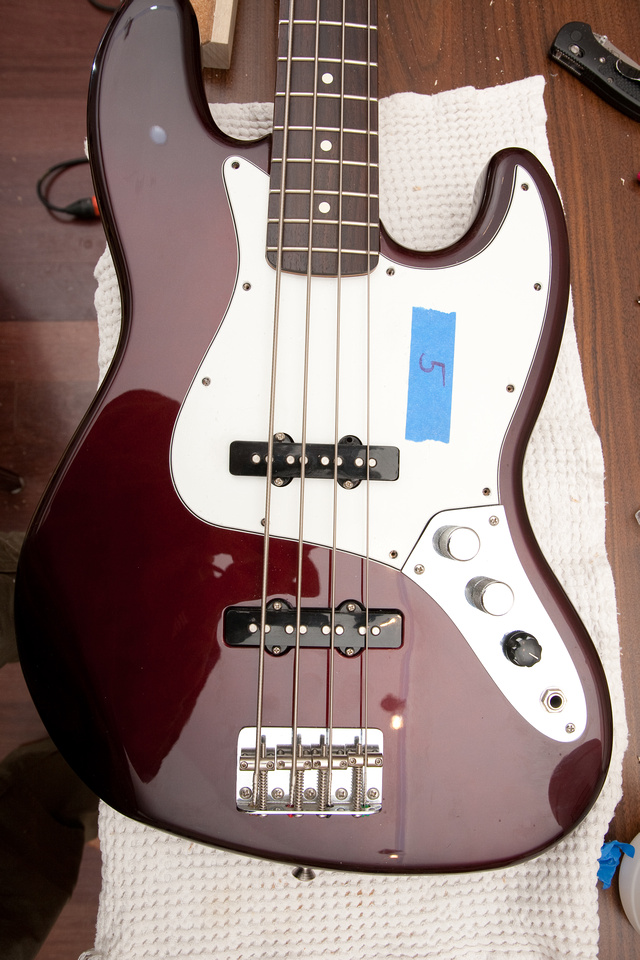
And, other interesting discoveries. . . the post- 2000 MIM pups appear to be hybrid Alnico/Ceramic jobbies.
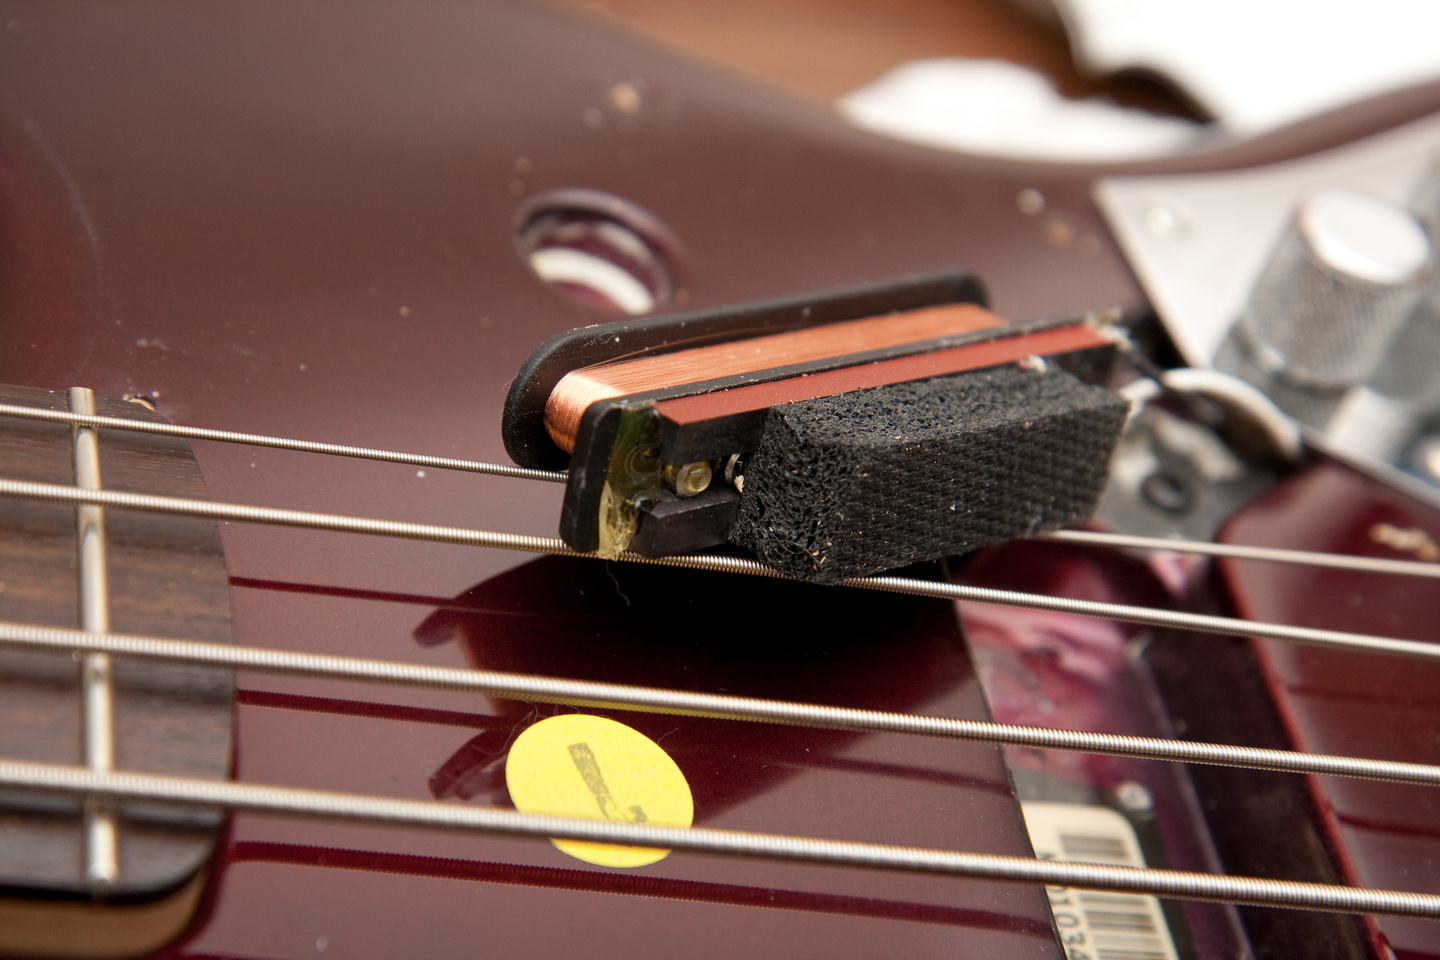
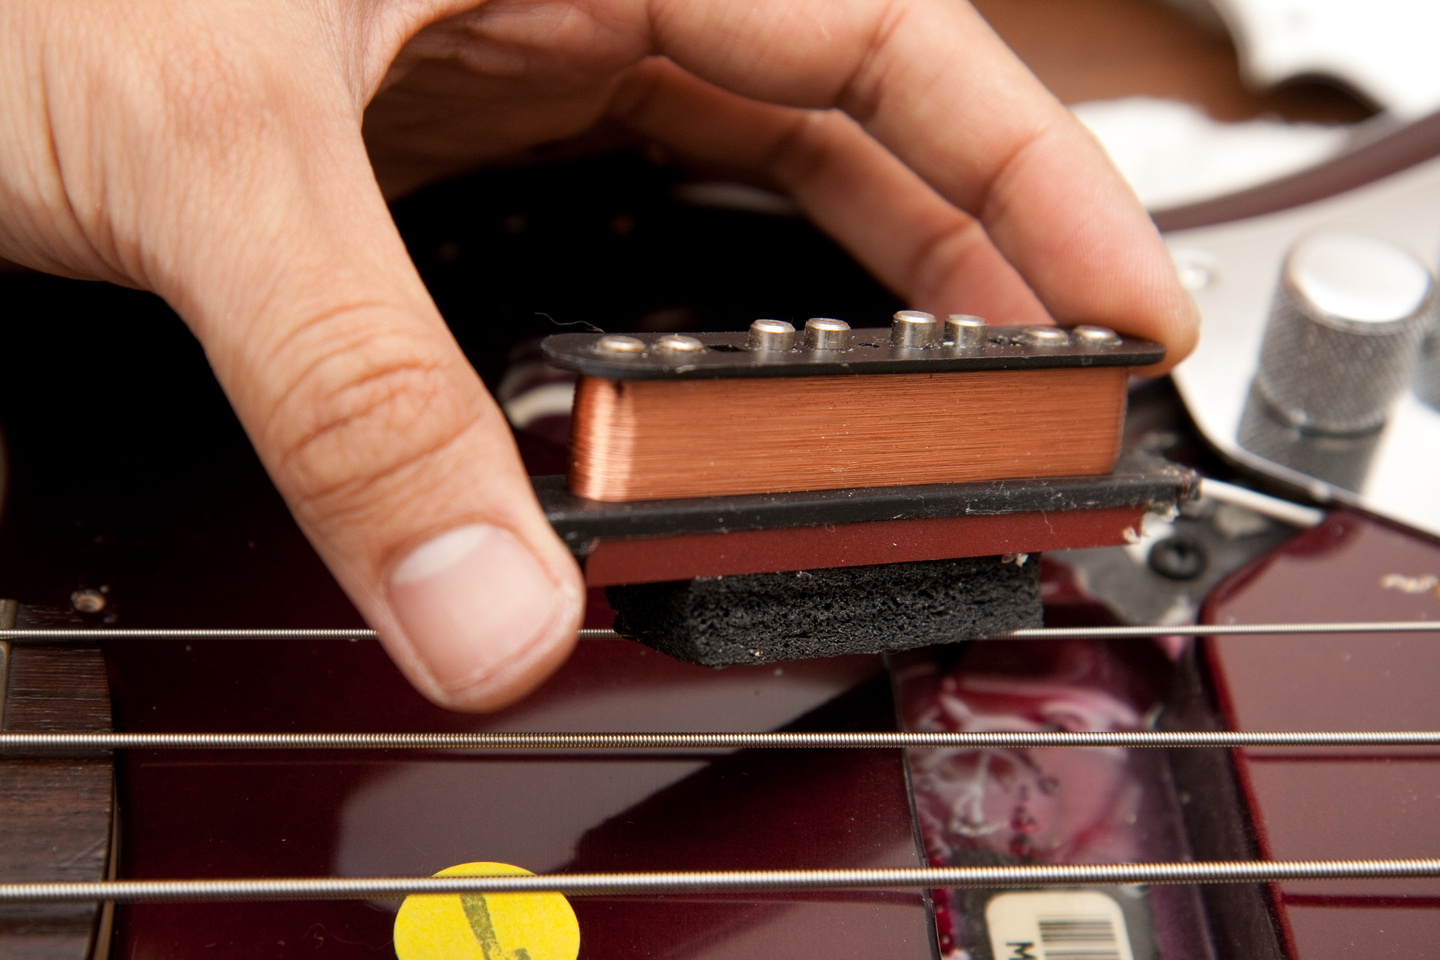
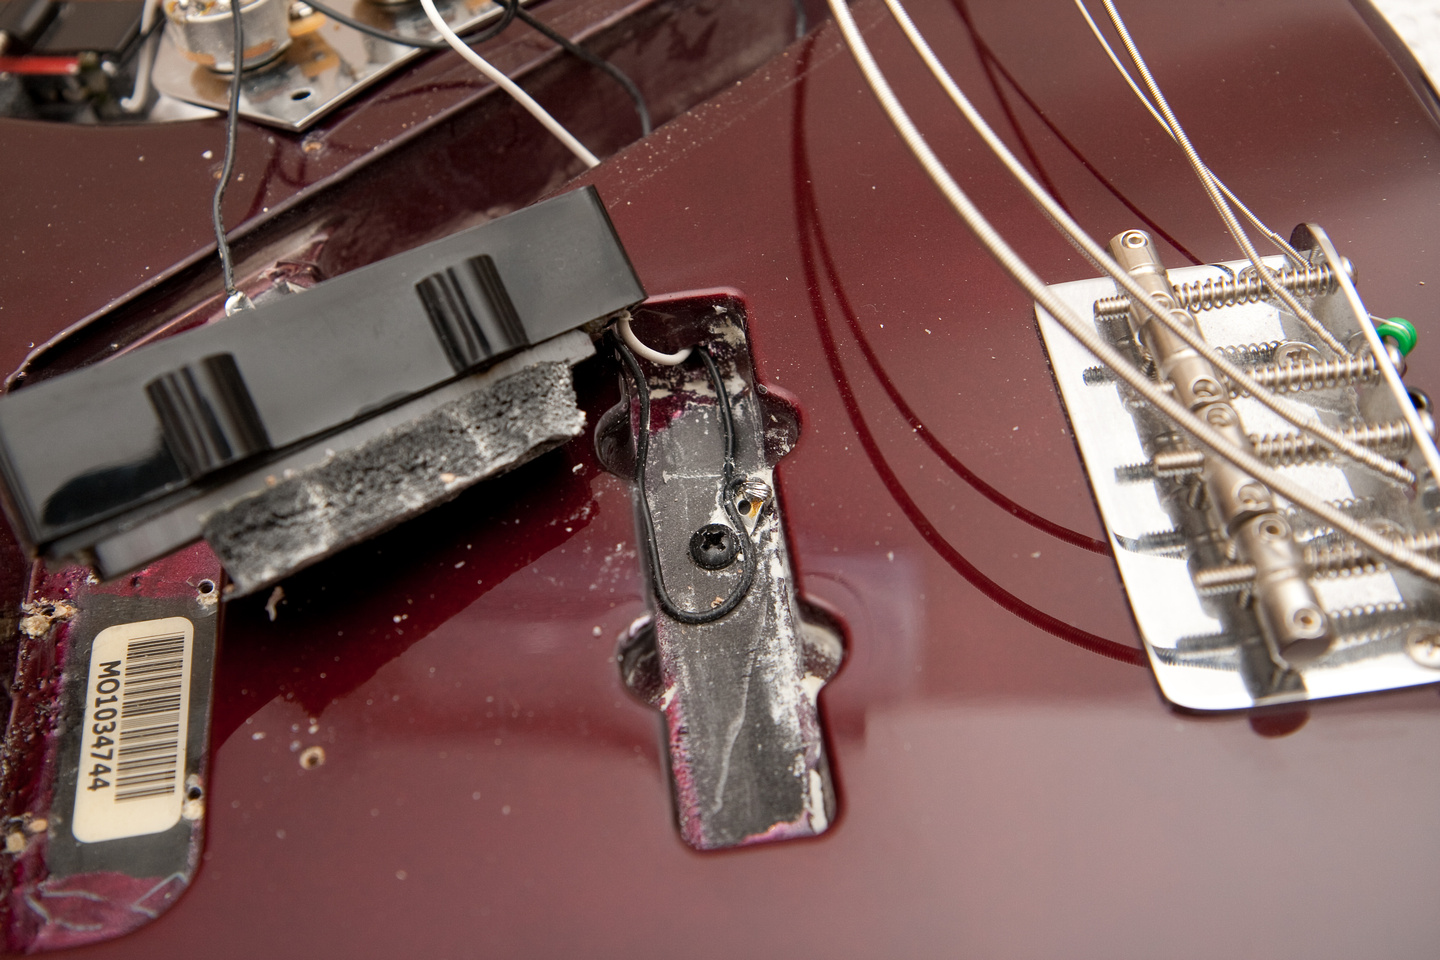
And, it appears there is some sort of shielding paint underneath the color coat. . . exposed where the grounding lug is located.
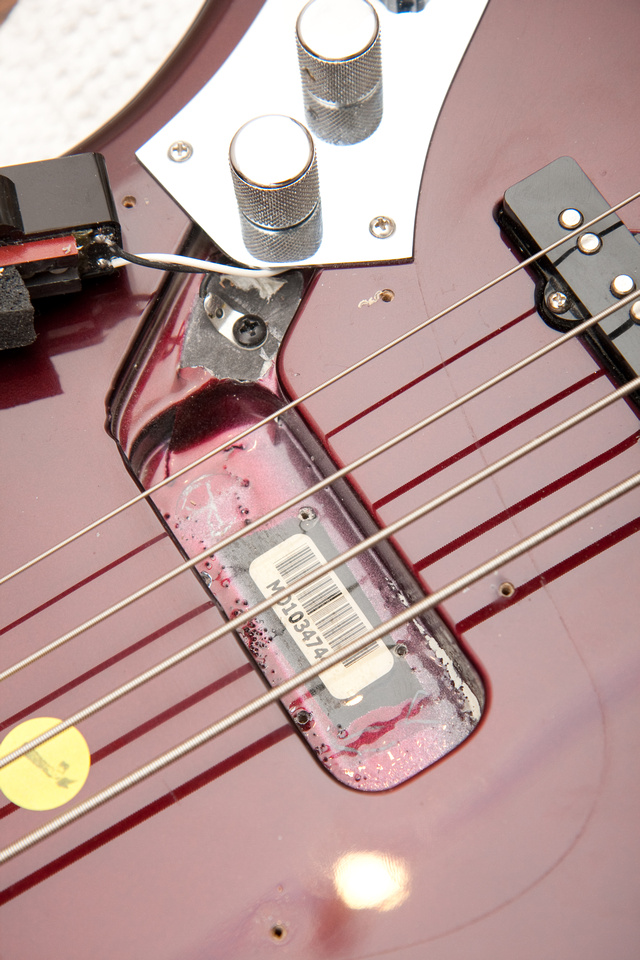
Some hour devour skewers to fill the holes so I can re-locate the pickup slightly.
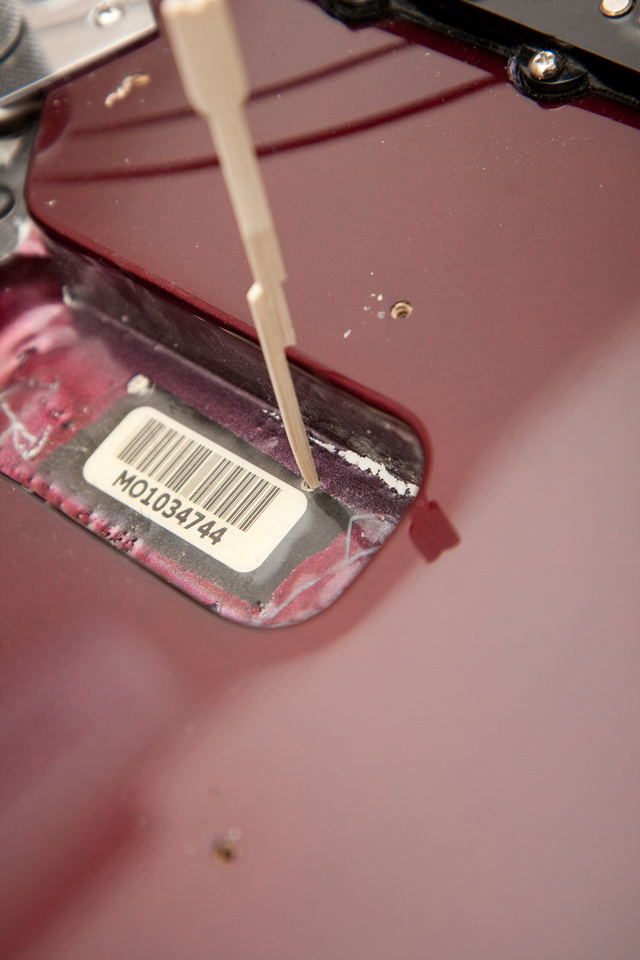
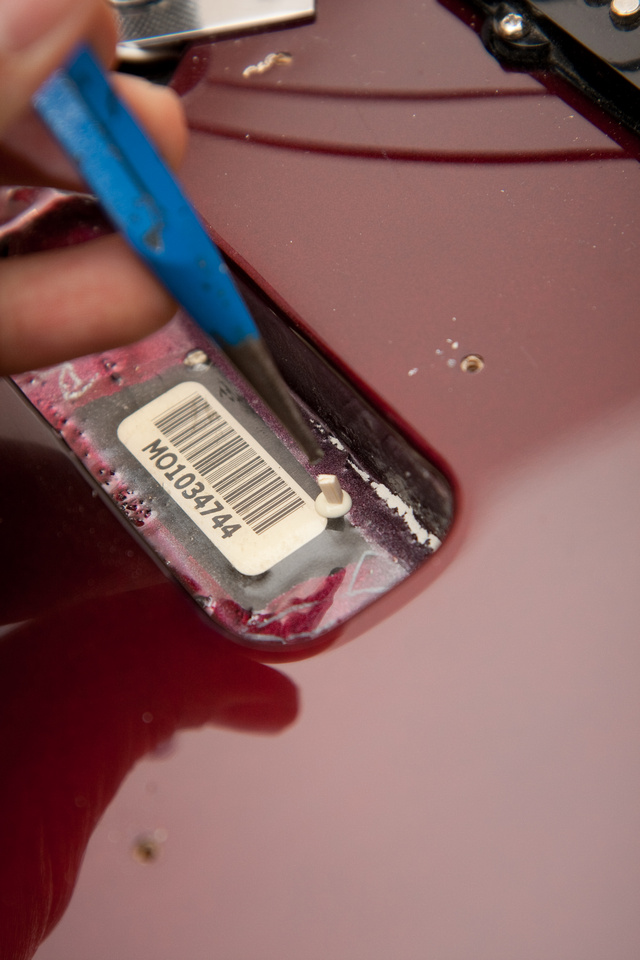
While I'm waiting for the glue to dry, I'm wondering if these "real fenders" will be worth the time and energy put in or if I'm going to simply lose my shirt trying to mod them. We'll see. So far, for my purposes, they are just about as much work as the SX's. . . if the shielding scheme is solid, I might be able to shave 1 1/2 hours or so from the build and forgo copper shielding. The frets do seem to have fewer variations than the SX's and the neck straighter than the majority of the SX samples I've touched. The truss rod, however is not as smooth. Finish quality on this copy seems to be better than the SX and as mentioned above. . . neck pocket is way better. People talk about Fenders retaining value all the time, but if i bought this very nice '06 copy for $235 and it sells new on the street for $600, there's an awful lot of depreciation going on here over the last 4 years. A $120 SX these days sells for, well, $120-$140 used. . . just some random thoughts. There are no more non-ursa SX's, and with Rondo pretty much saying, "We aren't willing to improve our headstocks". . . I'm branching out. There are many things to like about this Fender. In general there seems to be better QC in the Fender. Screws aren't stripped, finish is consistent, neck pocket is good, and the net result is a better instrument designed to be the "middle-of-the-road" product with some efforts taken to preserve the brand's reputation. If the pickups are serviceable and better designed, it may very well come very close to the SX in final cost out the door after mods.
Alright. . . the pup alignment is looking pretty good now after the re-set. Doesn't get much better than this.
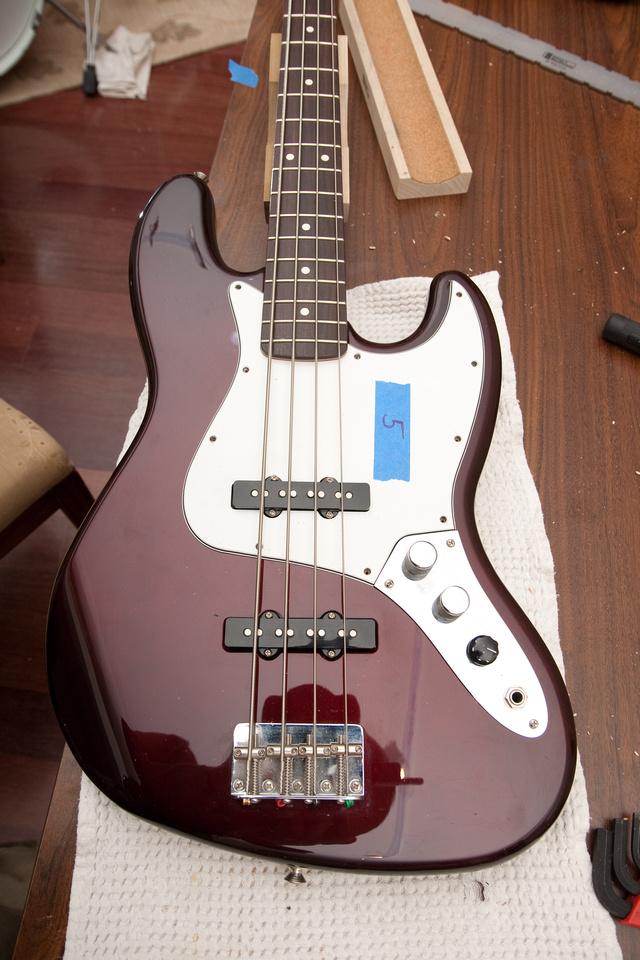
Now that I have the neck set, I'm stripping the body prior to fret level and then shielding. Here's my first peek at the Fender guts. . . not too bad looking. CTS pots, wimpy little cap, good solder joints, plenty of wire on the pickup leads.
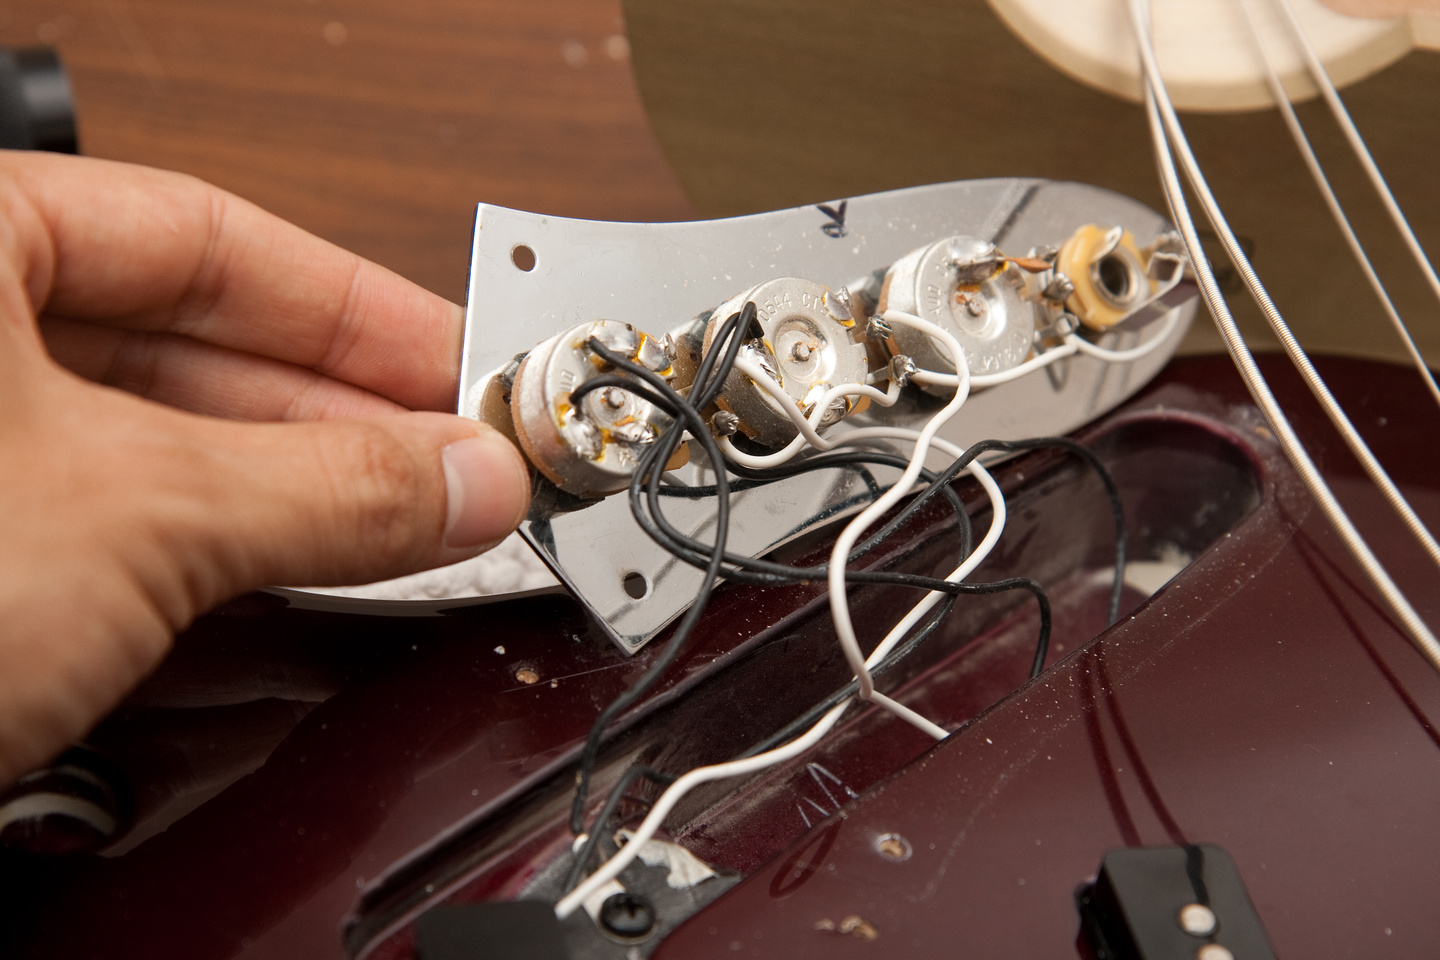
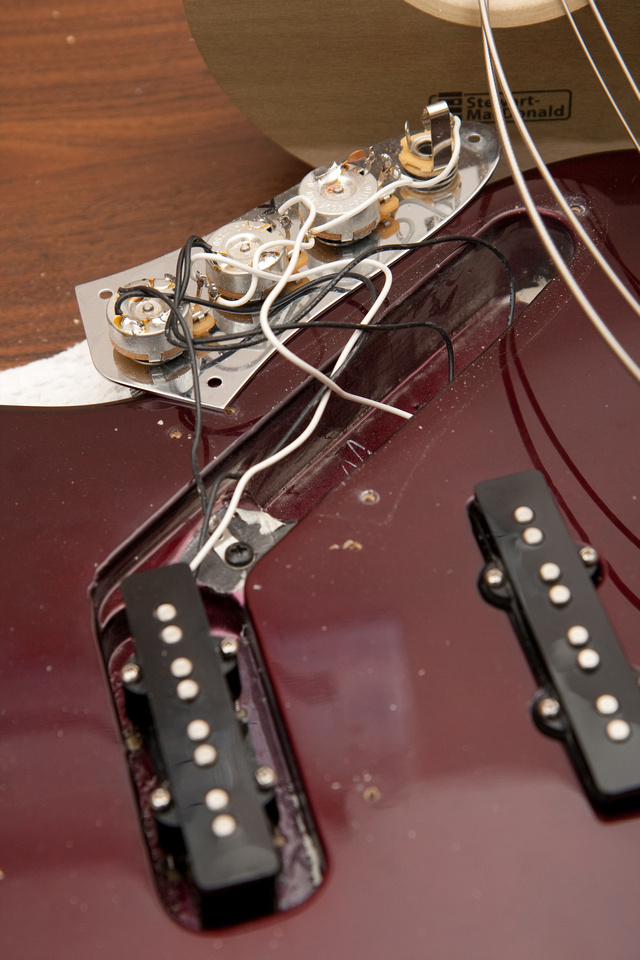
Interesting how they used the pickup's ground wire to tie in the bridge pickup route's shielding paint to the rest of the bass.
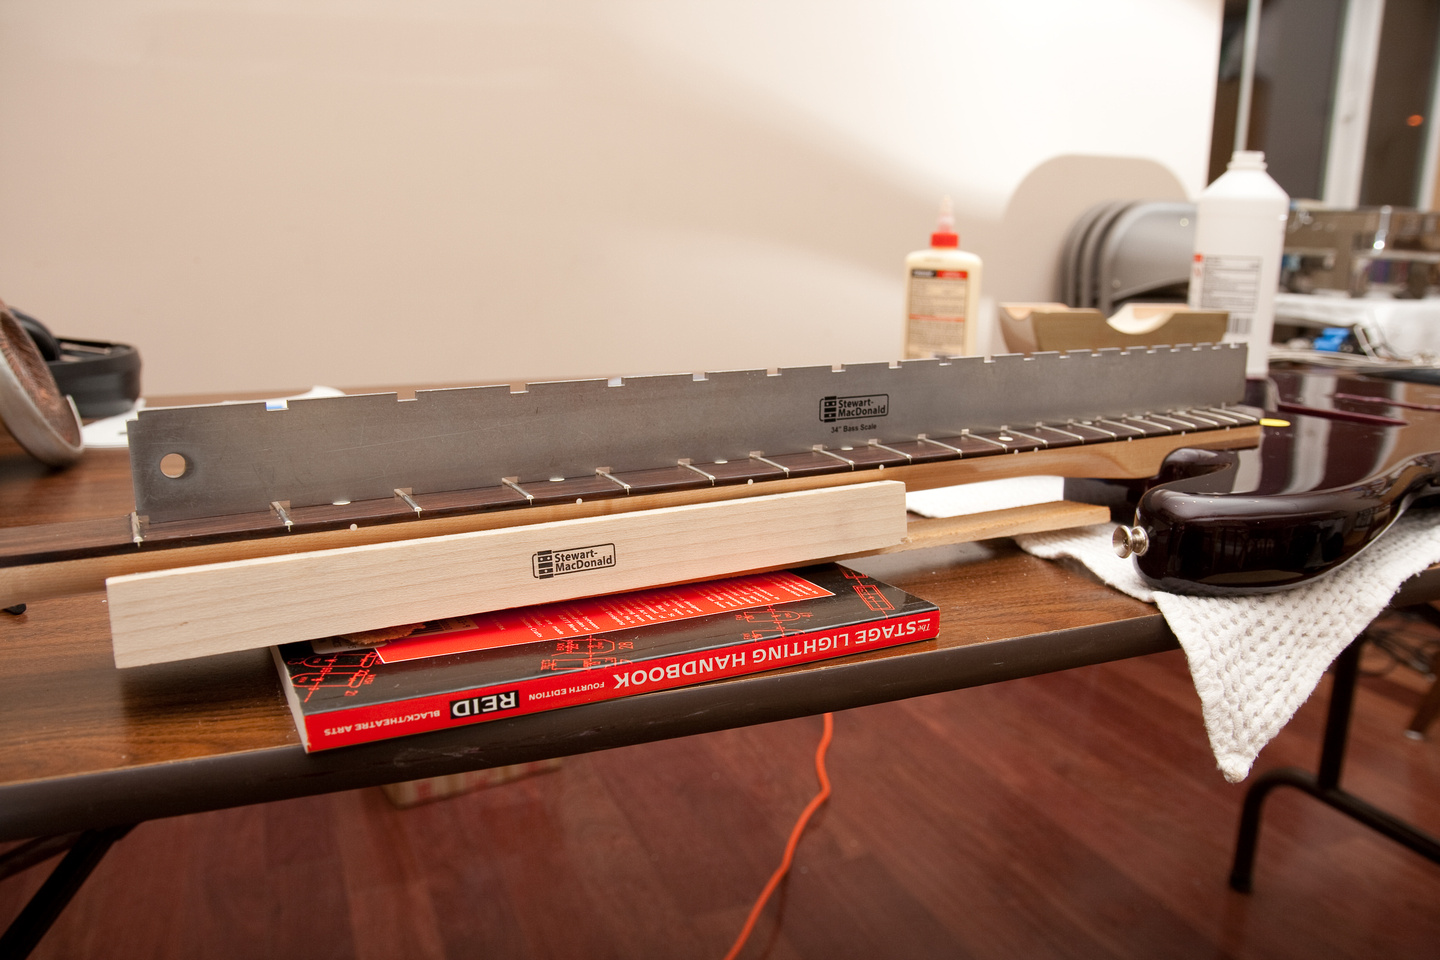
Getting the neck straight and settled to prep for fret leveling. This neck is very straight.
And frets leveled and crowned. . . still have to sand the file marks off and polish them. The frets leveled really easily on this bass. I only had to run my block over the frets a few light passes, and it seemed they just came right up to me. This is very different from the majority of the SX's where fret leveling is like armageddon. Anyways, that's all for tonight. . . tomorrow I think I'll be able to finish this bass out and start in on #6

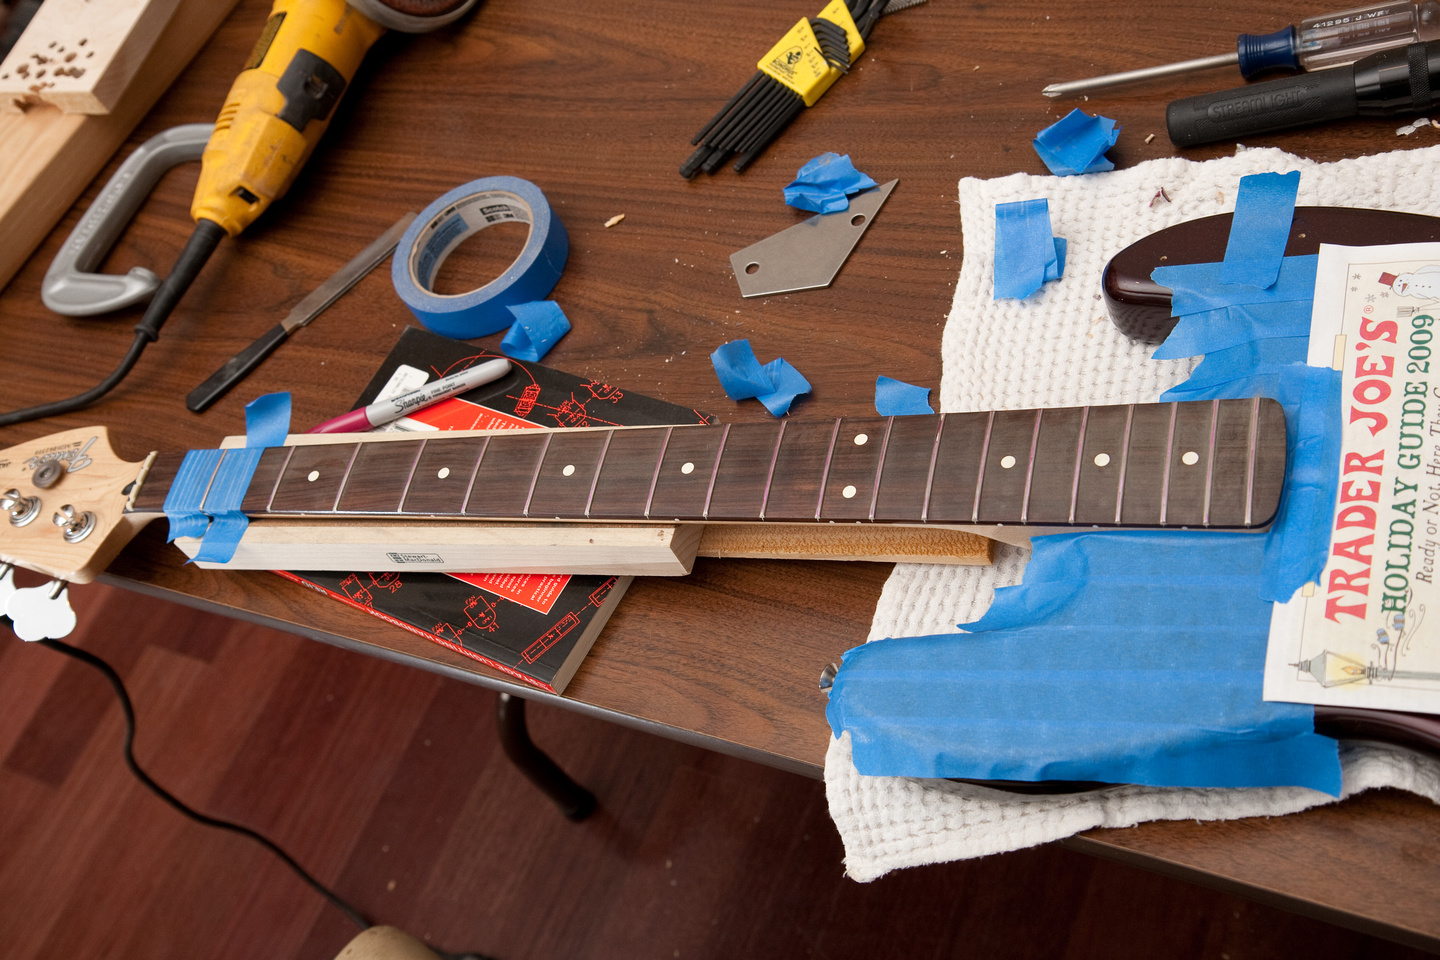
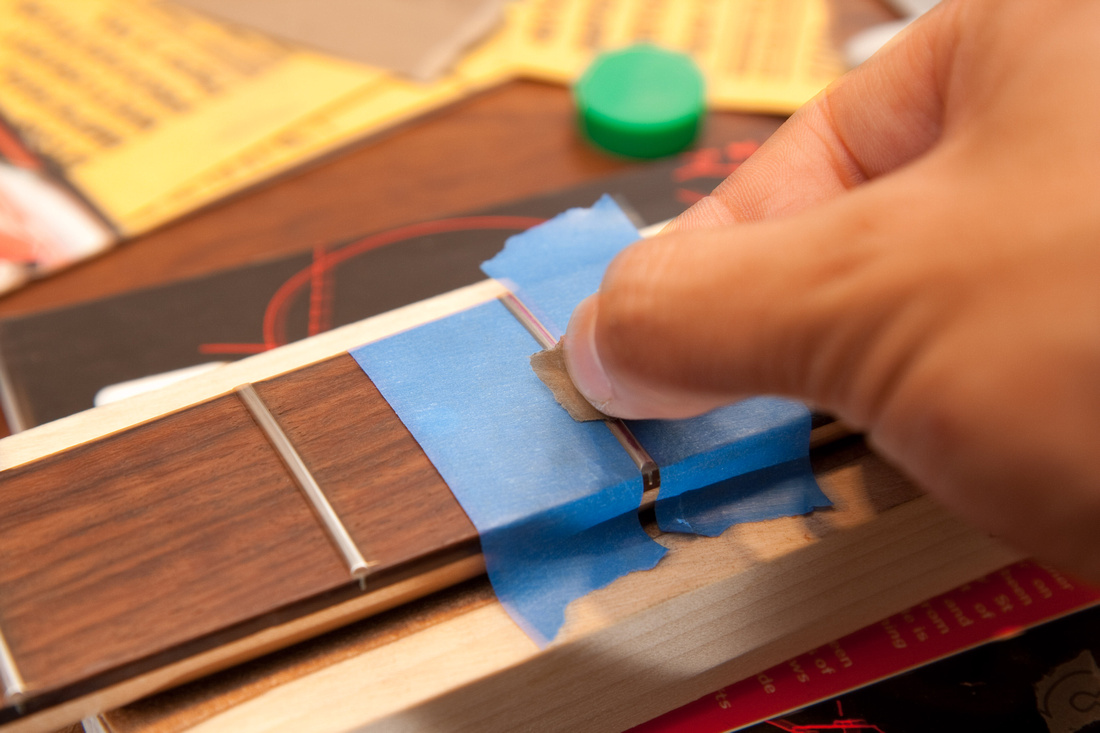
Finishing up the frets after crowning to remove the file marks. . . I'm still trying to figure out best practices, but for now, I'm tearing off small little niblets of sandpaper for each fret. . . . 320, 600, 1000.
Then, I zap it with the dremel with a felt wheel and some buffing polishing compound.
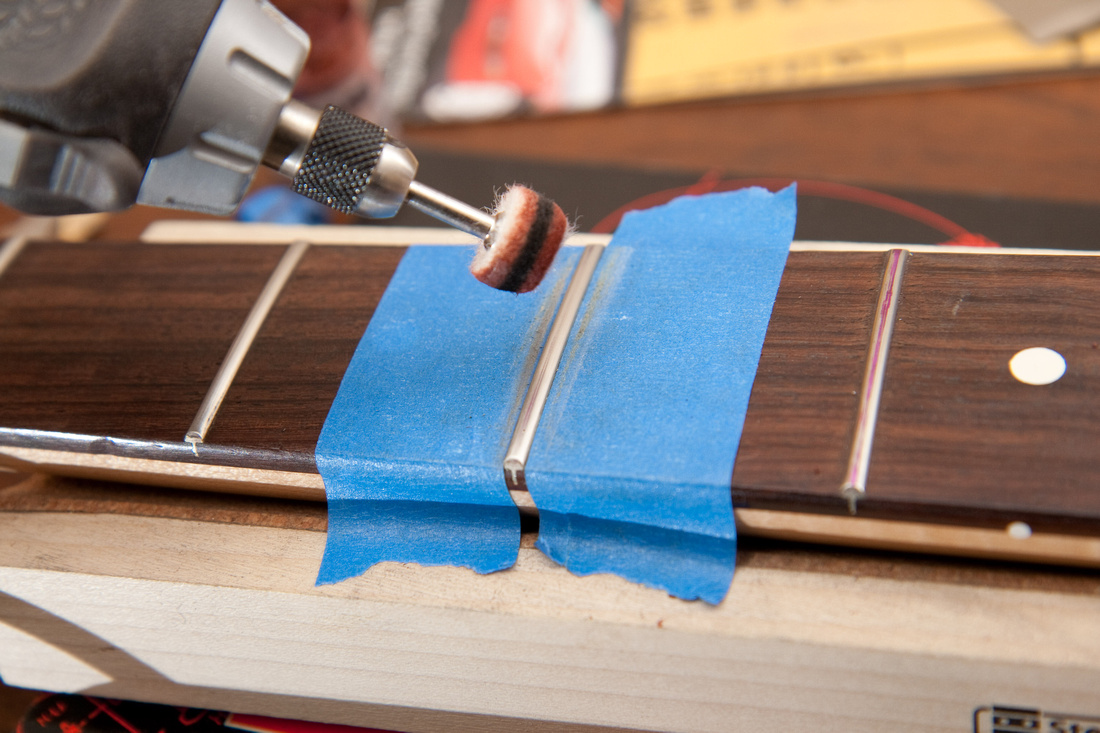
All polished up. . . with the present method, the frets are decently shiny, but they don't glow like crazy like I know they can. I should try and figure out a fast method to get a mirror shine on there, but for now, this works.
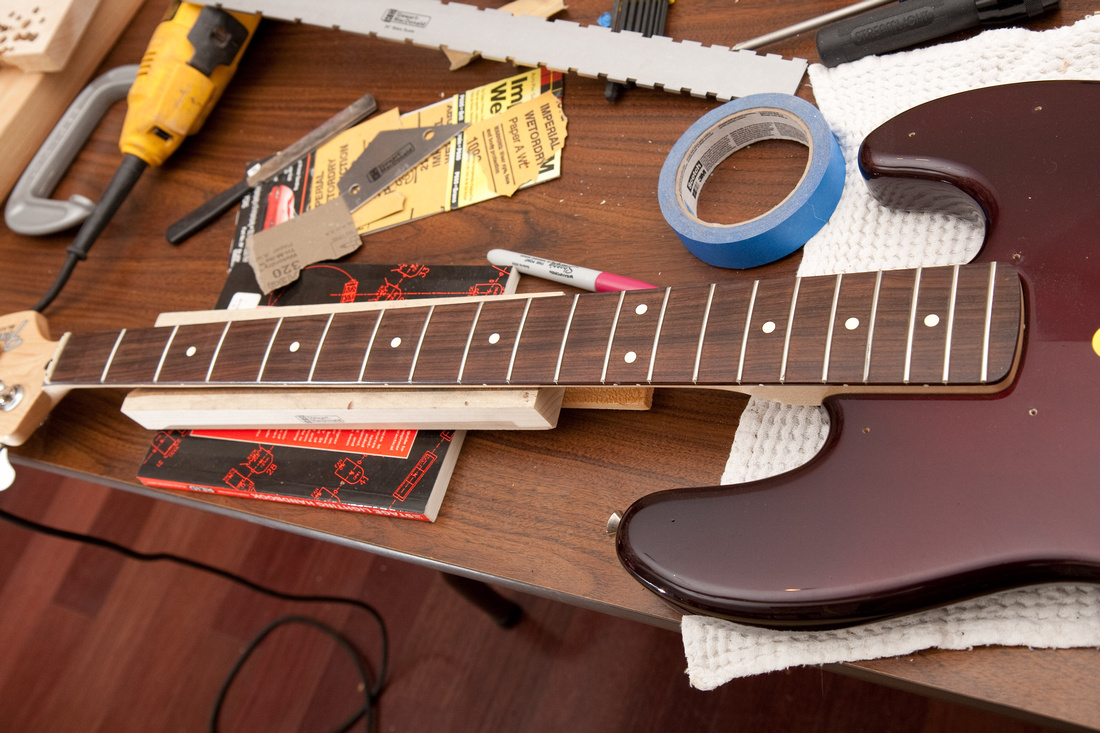
I thought I was done, but just to double check before I started re-assembling, I took my fret rocker out and found a strange thing. . . the 3rd fret seemed to be high for some reason. . . so, after some though, I ended up going back over and frets 3-20 to get rid of that high spot. . .which meant re-crowning and re-polishing all of the frets. I'm eating up tons of time on this one for silly mistakes. Even with good tools, there's little quirks that can come back to bite you.
No comments:
Post a Comment