Let's start with the hardest part. . . the pickup cavity. I start from the bottom of the route and work my way up, so the first step is to make our bottom piece. I measure a piece of 50mm foil to the length of the pickup with an extra ~1/4" on top and bottom.

Then, I position the piece over the pickup route and rub on it to create a indentation of the route on the foil.

Using a pencil I make 4 lines with particular attention to the corners of the 4 rounded screw holder portions of the pickup route. You may need to squint a bit to see the marks on the foil.

And then, I cut the foil like this:

Now for the hard part. . . it gets kindof messy. The thing to keep in mind when doing the base part of any shield job is to KEEP THE FOIL OFF THE EDGES UNTIL THE BOTTOM IS COMPLETELY SECURED.. .. and there are some messy gymnastics that happen to keep the foil from sticking pre-maturely to the edges. If you stick the foil to the edges first, it will tear when you try to smooth it into the corner cleanly. It may take a few tries to align the foil, but what you want to do is start at the very center and sick that to the floor of the cavity . . . and then, start to smooth it outwards from there keeping it off the edges until you have the corners pressed down solid with your fingernail.

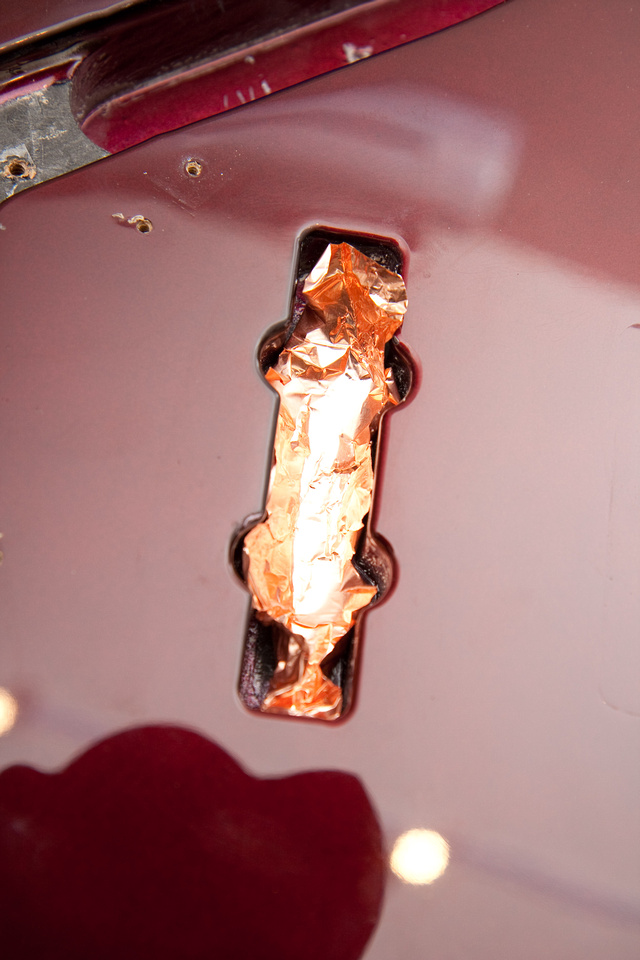


After you have the bottom secured and the corners all pressed in with your fingernail, press the sides down securely.
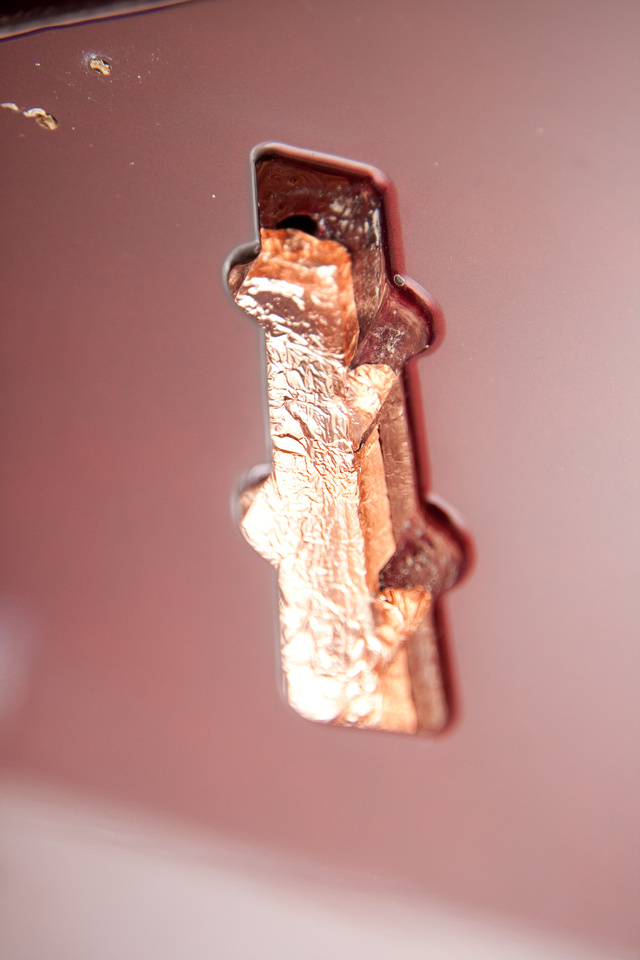
And, here's now mine looks with the bottom in place. Don't worry if there are some little tears or gaps. You can go over those later with small pieces of foil
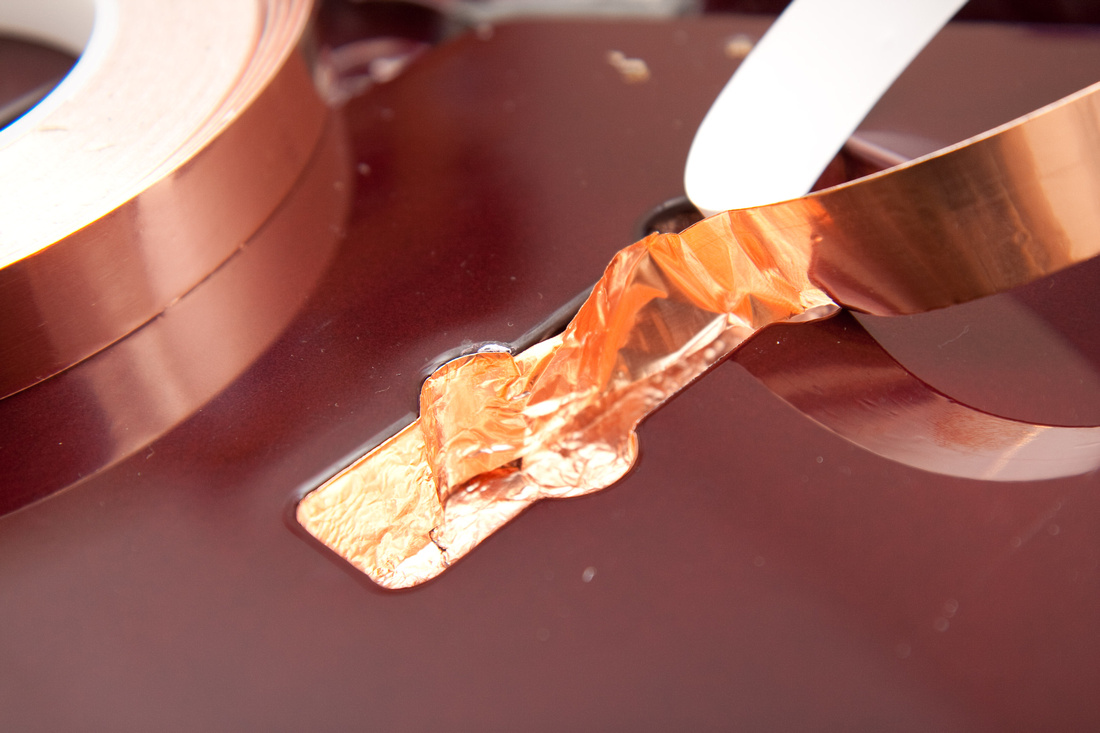
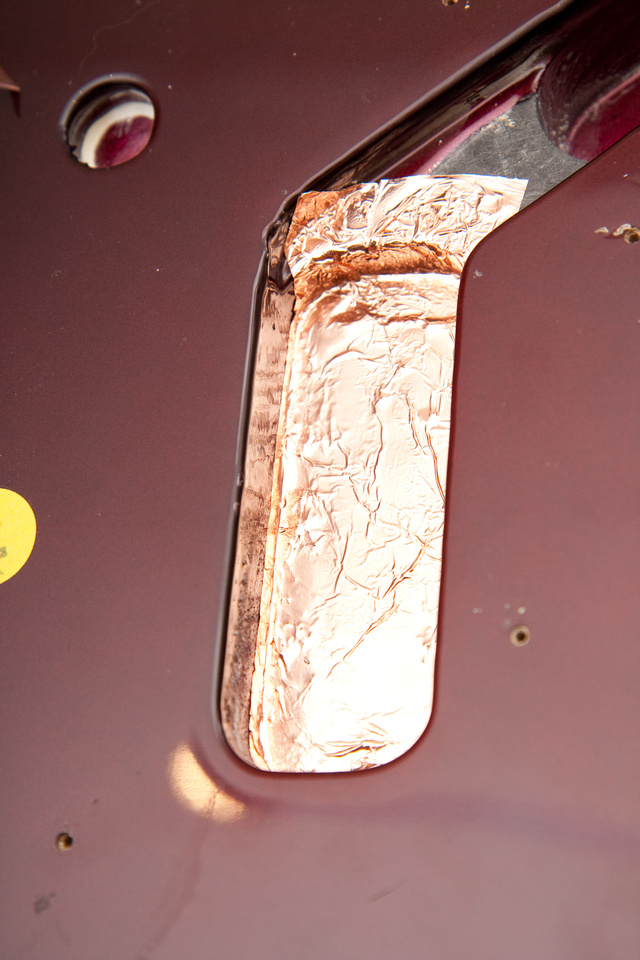
The next part is easy. . . use 19mm tape and go all around the sides of the route. Your reference will the the top edge. Align that first as you work your way around. Make sure the top edge is aligned and pressed in as that's your visible (pretty) edge. . . and after that is in position, secure the rest of the foil. Work your way all the way around with one continuous piece.


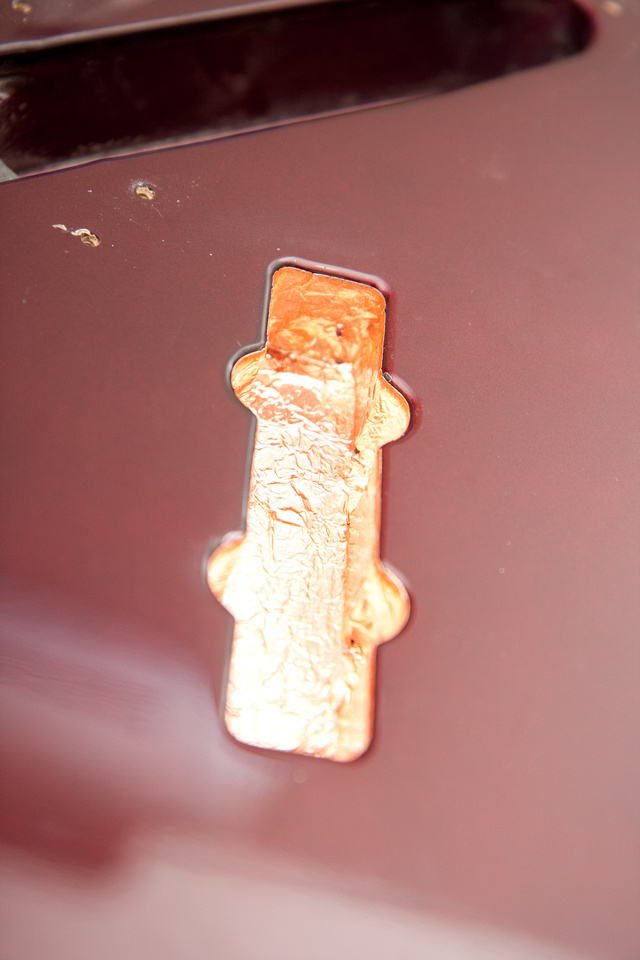
And, one pickup cavity ready to go. . . I'll still have to go back in and fill in those little holes in the bottom corners with tiny scraps of foil and then remember to solder those together so the entire shield has continuity.
 sadf
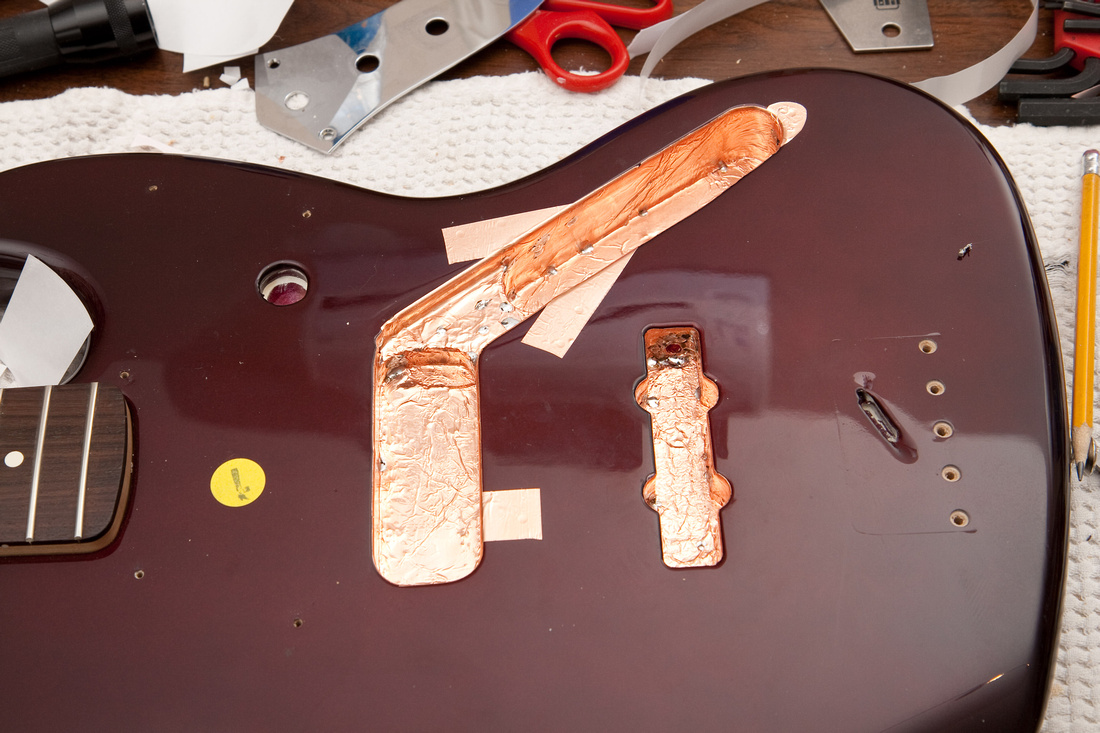
sadfThe process for the rest of the control cavity is very similar. . . the main concept is the same. . . keep the foil off the sides until the bottom corners are cleanly laid down.


For the sides of the main control cavity, I cut a custom width piece so that I can hit the entire side in one shot.


And, the main compartments are done.

Next, I find a drill bit that fits easily into the pickup wire drill hole but fills most of it up. . . I wrap that with foil with the sticky side facing outward (sticky to the touch).
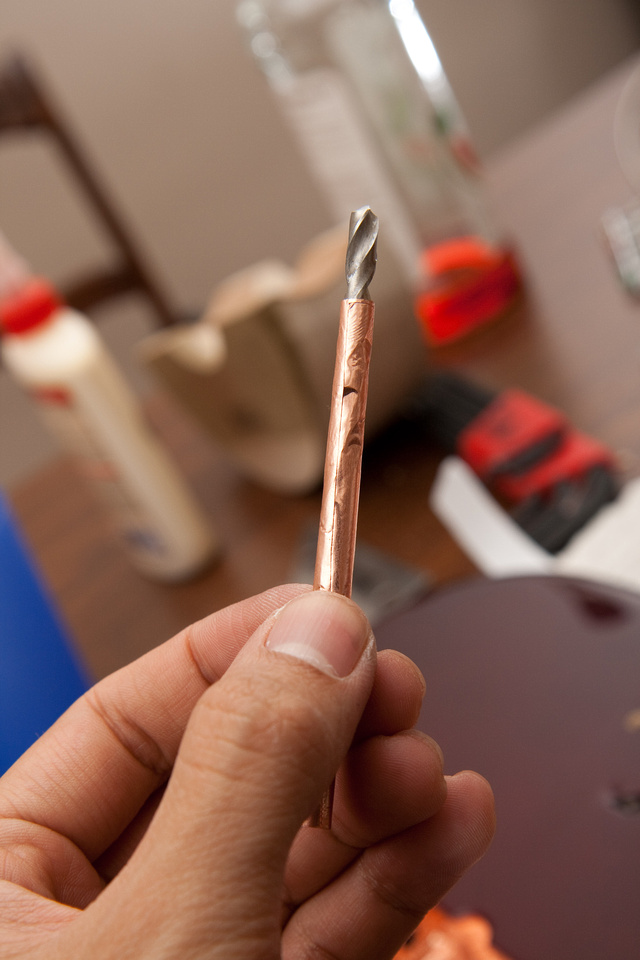
Then, I take another piece of foil and wrap it around again (my Chinese foil is a bit thinner than the Stewmac stuff). I want to make sure as I jam wires through this channel, the foil won't rip, so I double reinforce it. This time, I put the sticky side in so that as I slide the drill bit through the channel, the foil can slide into the hole all the way through to the other side.

I then smoosh in one of the sides, so the foil can be pushed through.

And then push the drill bit through along with the foil tunnel.


It may take some creative use of tools to keep the tunnel from collapsing while opening it up so you can solder the edges to the foil shielding on the cavity walls.

And, shielding is complete. . . everything soldered together and tested for continuity.
No comments:
Post a Comment