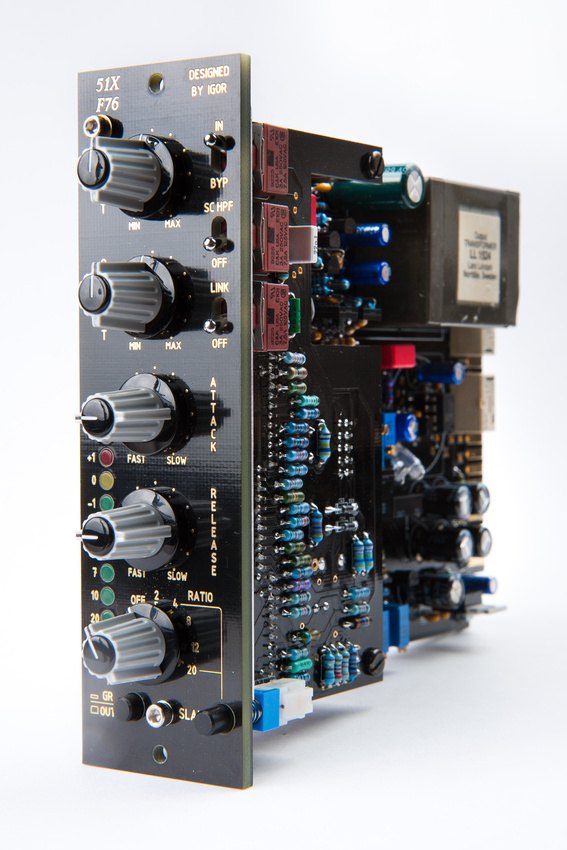
One preamp that was very interesting to me from my initial DIY research was the
VP312DI kit from Classic Audio Products of Il. One of the main reasons I wanted to try this kit was the feature set seemed very conducive to live use for bass guitar. It has some really cool modular features that allow for a wide range of customizations. In particular, this preamp has easily detachable modules to allow for 4 completely different flavors of DI. It also has a built-in switch to bypass the DI module and inject the signal directly into the opamp which yields a different sound option that is built-in and always available. In addition, the opamp is a standard footprint 2520 opamp. Because this preamp comes in a full 51X Alliance standard configuration, not only are API-type +/- 16V opamps accepted, but a number of +/- 24V opamps can also be used. The DI section of this kit also has a selector switch for 16V and 24V operation depending on the module being used.
So, in short, there are a mind-boggling array of possible configurations for this preamp kit that can all be changed quickly and without soldering. For this build, I will explore a few of them.
opamps: GAR2520, APP2520E (+/- 24V)
DI modules: FET DI, Picatron passive transformer DI, and the IC chip DI
The current revision of the VP312DI preamp has a
new option on the PCB for stepped resistors on the gain knob, so you can now choose between the constant variable Bourns pot (as depicted in this older revision build) and the Grayhill switch with stepped resistors when purchasing this kit.

There is no in-depth step-by-step
assembly guide for this build, but a lot of critical build information
is consolidated in the
official support thread on the
http://www.groupdiy.com forum. All of the critical build documents (schematics, bill of materials, and assembly guide) are also sent via email upon purchase. In this post, I will attempt to detail every step of the VP312DI kit build.

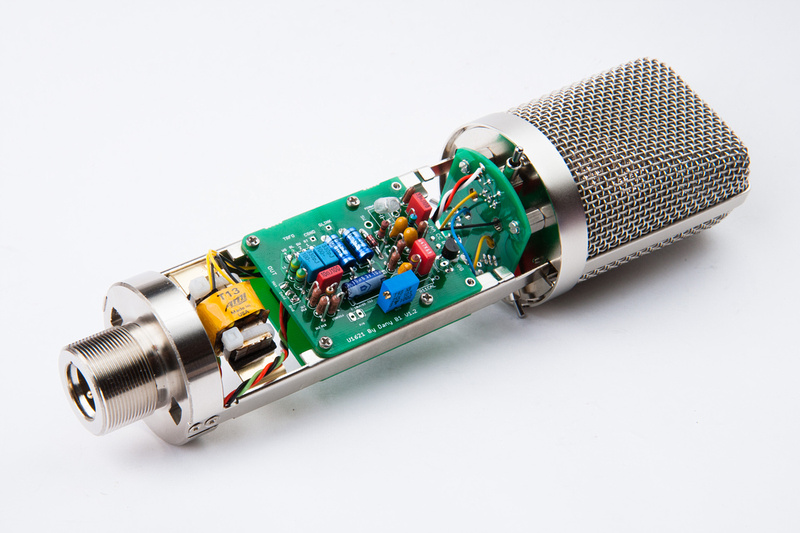
 Anyways, it was just acoustic guitars this time, but we were able to put a few mics up to compare. Among them, 2 original vintage U87's. We did not get the Klaus U87 up because our friend down the street who own it was having a pretty rough day. He had to put his dog down who he had been walking for near 20 years, so it was all-in-all a bad day to be borrowing mics.